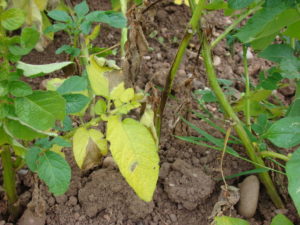
When the foliage on your potatoes starts to die back or the dreaded blight strikes, it is time to harvest your potatoes. Harvesting and particularly storing is something many people ask and have questions about, which this article will answer.
Lifting Your Potatoes
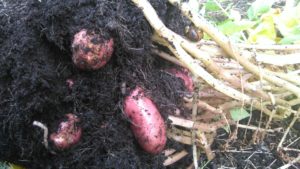
Firstly, dig your potatoes up out of the ground or empty them out of their containers. When digging plants out of the ground, use a fork rather than a spade as you are less likely to fatally damage a potato. A potato with a fork tine through it is easier to use than one that has been cut in half by a spade. Don’t put your fork too close to the plant when lifting potatoes as you are more likely to damage the tubers.
Carefully lift the soil and turn it over next to where the plant was located. Go through the soil with your hands and remove any potatoes that you can find, even the smallest ones. I’d recommend putting them in a basket or bucket for now, as you are collecting them. Dig for about 12-18” around each potato plant and down at least the same depth to make sure you find every single potato you can.
Bag up the foliage for now. Whether it has blight or not, you are best burning this or disposing of it in the garbage. I don’t recommend composting it as there is the chance you will end up with blight spores in your compost.
You can leave your potatoes in the ground, lifting them as and when you need them. However, be aware that if there are slugs or wire worms in the ground, they will be hard at work eating your crop, so lift and store if your ground is infested with these pests. If your potatoes are still in the ground when the frost hits, then it can be hard to dig them up. Also, if the area you live in suffers from blight, then you may want to lift your potatoes before the blight strikes and causes problems.
Drying Your Potatoes
Once you have lifted all your potatoes they need to be sorted and dried, before you can store them.
If it is a sunny day, lay a tarp on the ground, otherwise you will need to put your potatoes in a shed, greenhouse or garage to dry.
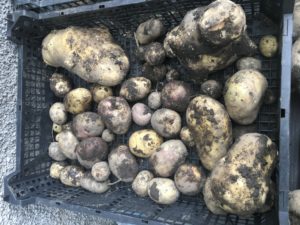
Sort through the potatoes, brushing off excess dirt as you do. Do not wash the potatoes as they will not store well if you do. Look for any damaged potatoes, such as those with holes in or damaged when lifting. Put these to one side. Any that are soft and squishy need to be removed and put in the garbage. Don’t even try to store these as they will rot your entire crop. The potatoes that are too small to be used for anything can be disposed of, though do not compost them.
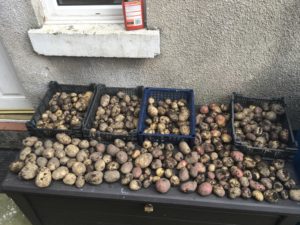
All the healthy potatoes are then laid out on the tarp for a couple of days to dry, depending on the weather you may need to dry them inside. Once they have dried sufficiently, then you can store them.
All the damaged potatoes are taken home and used over the next few days. These will not store, so are used first to reduce waste.
Storing Your Potatoes
First and second early potatoes do not store as well as main crop potatoes. They will store for a month or two quite happily. Main crop potatoes store very well and will store, in the right conditions, for three to six months and sometimes longer.
Potatoes need to be stored in a cool, dry, dark place. They must not be exposed to light otherwise they start to go green and become inedible. There should be good air circulation too. A cellar, providing it isn’t damp, or a shed is ideal.
Once your potatoes have dried and you are sure there are no more damaged ones, store them in a hessian sack or paper bags in this cool, dry, dark place.
Avoiding Blight
Blight can be a huge probably for many people. There are two ways of avoiding this.
Firstly, you can buy blight resistant varieties of potato. These are not immune to blight but can resist it, meaning your potatoes have a chance to mature before being killed by blight.
Alternatively, you can plant your potatoes earlier or plant just first earlies. These are usually matured and harvested before blight strikes an area. In my experience, you are lifting your first earlies in June or early July and blight doesn’t rear its ugly head until the end of July or even August.
Learn everything you need to know about growing potatoes and more in my book, available on Amazon and free to read on Kindle Unlimited. Click here for Amazon.com or here for the UK store.
