Raised bed planters are really useful if you want to put a plant in the ground but do not want it directly in the soil. For example, I have an area of my plot which is quite waterlogged and full of weeds. I simply do not have the time to clear it and amend the soil as I have plants literally begging me to plant them out. So instead I build one of these small, raised bed planters and use that to lift the plant above the ground and grow in a highly nutritious soil (they are pumpkin plants and so need the extra boost).

You can make the planters as big or as small as you want but I built these large enough to hold a single big plant. I build two planters, which I will share with you here. One was 4″ high and the other 8″.
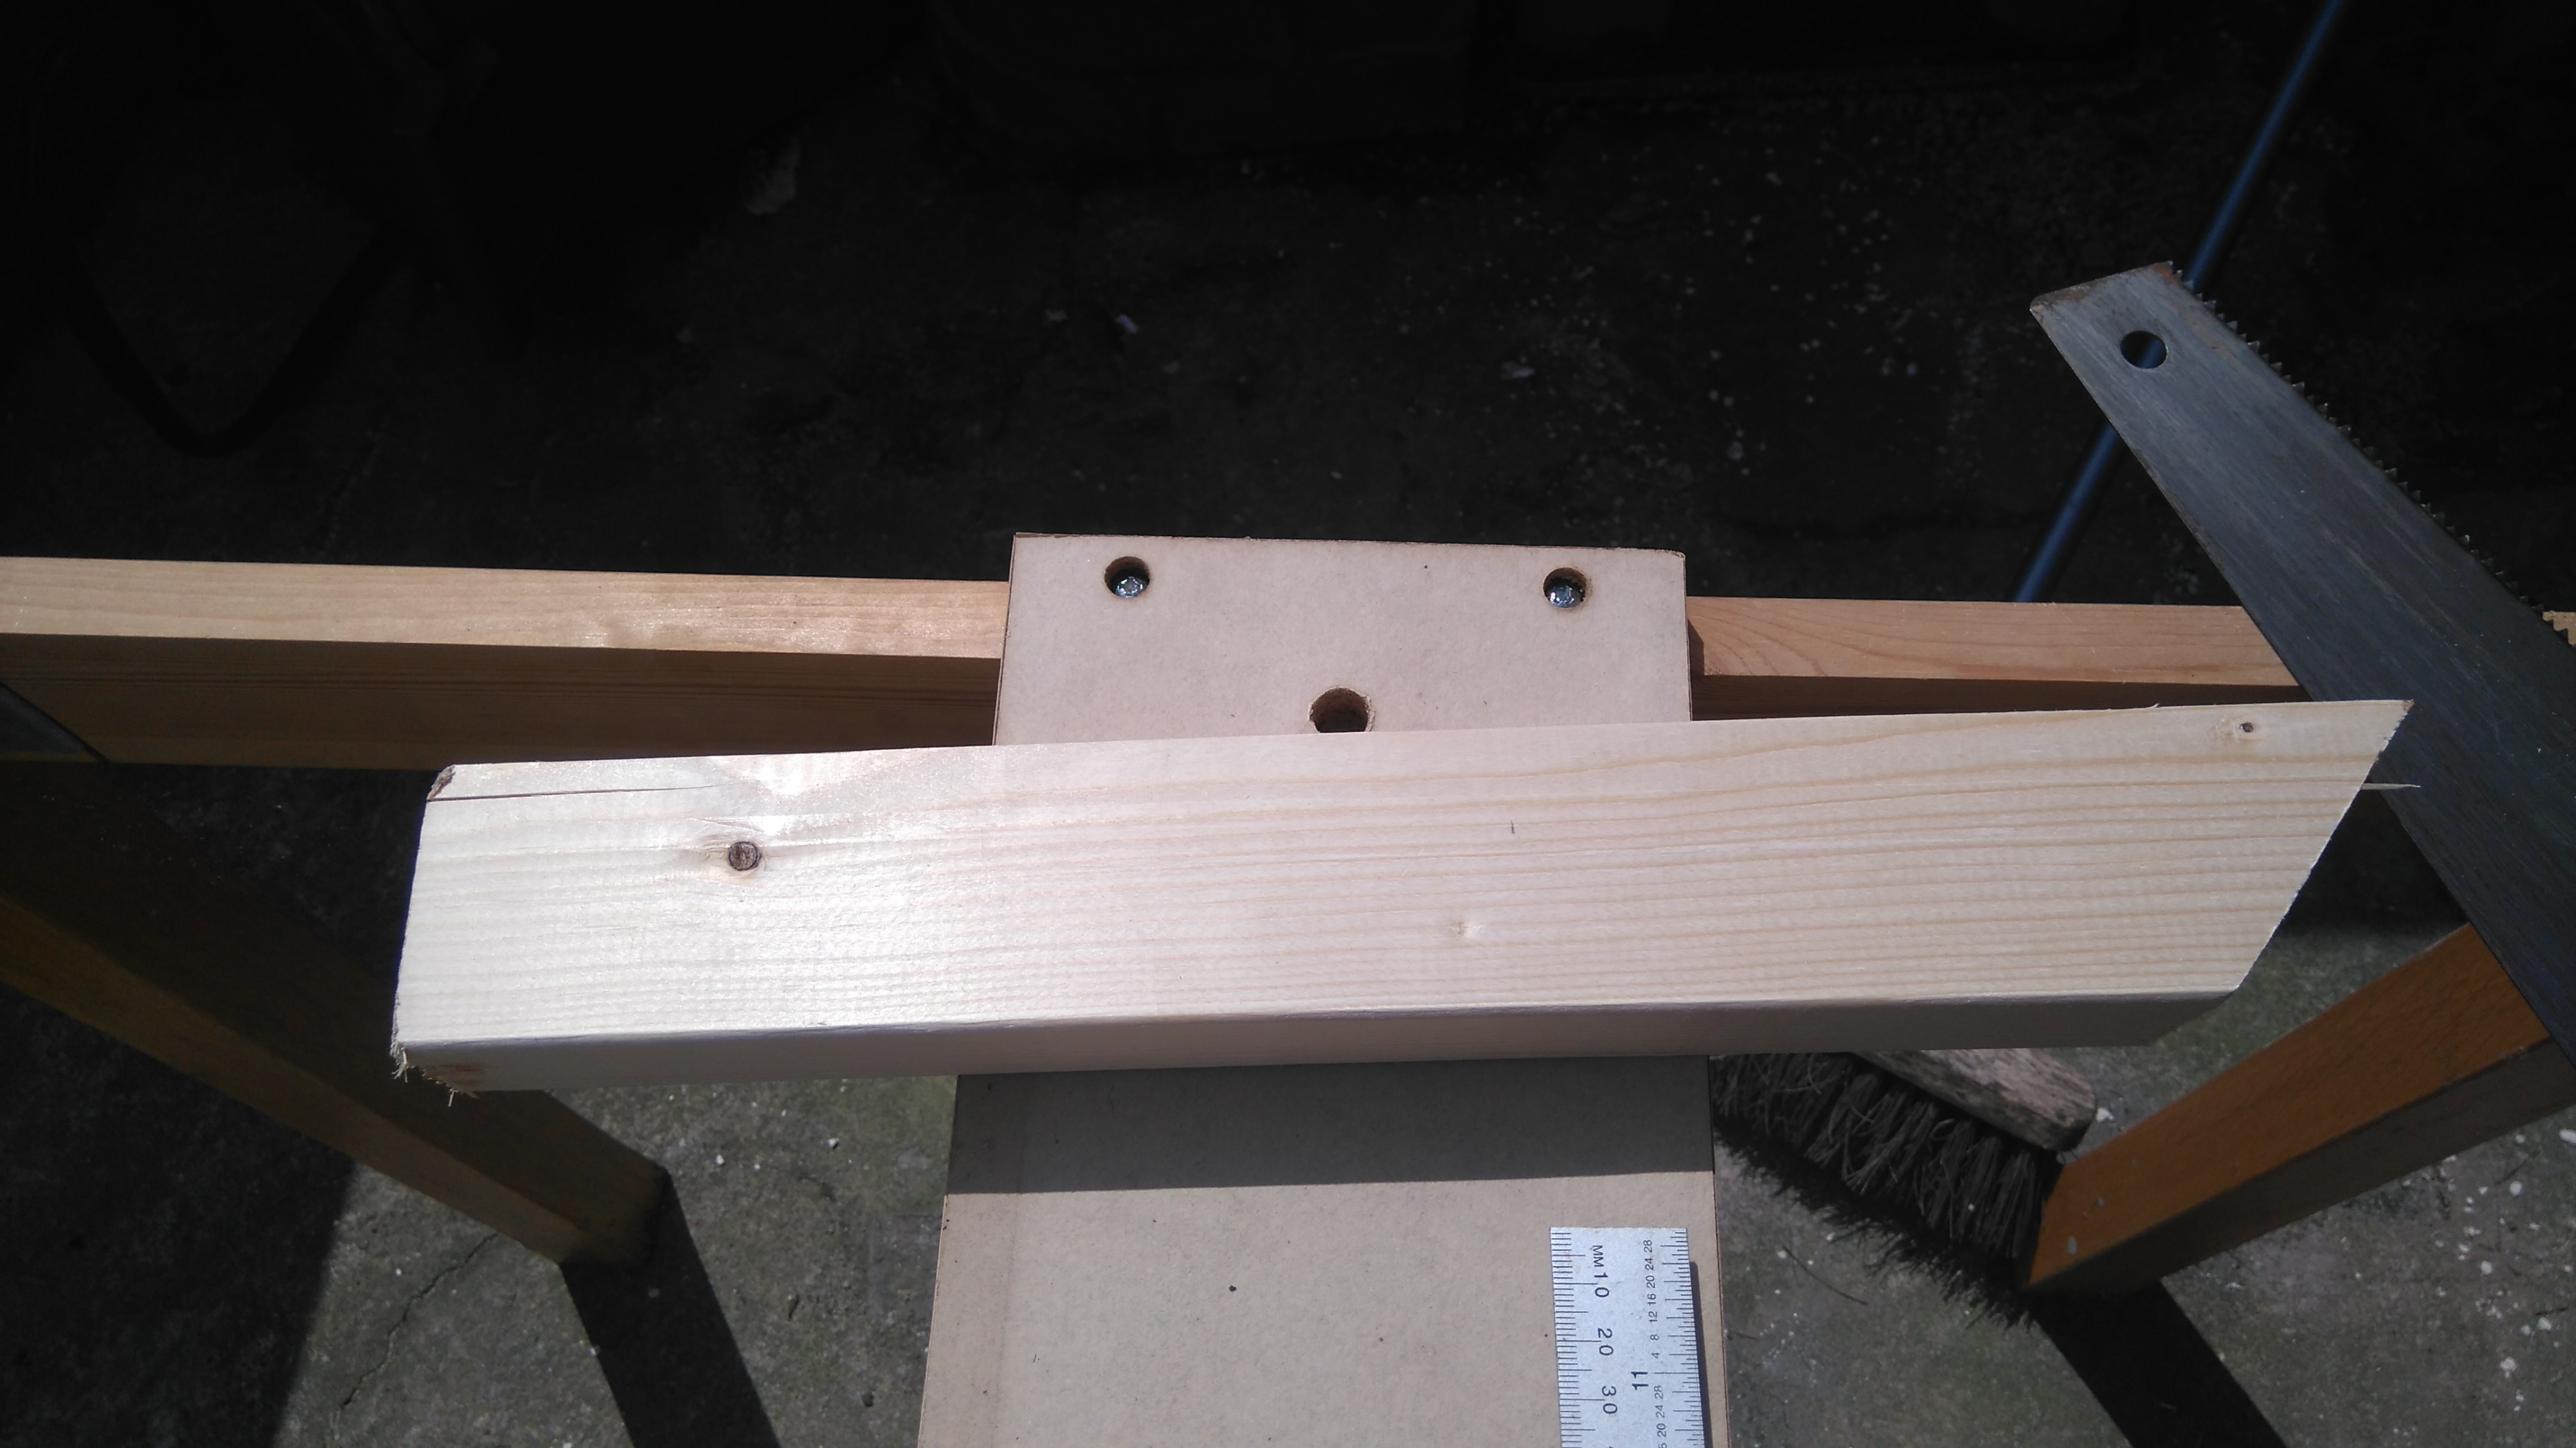
Tools you will need are a saw (electric is far easier), tape measure, square, screwdriver and screws or hammer and nails.
I used featheredge boards (used for fence panels) because they were cheap easy to get hold of. These were 5 foot long (60″) and were cut into four pieces of 15 inches in length. Therefore each board made one single height (4″) planter or two boards were required for a double height (8″) planter. For one of my planters I cut the boards at 20″ because I was putting a giant pumpkin in it and wanted to ensure there was enough room.
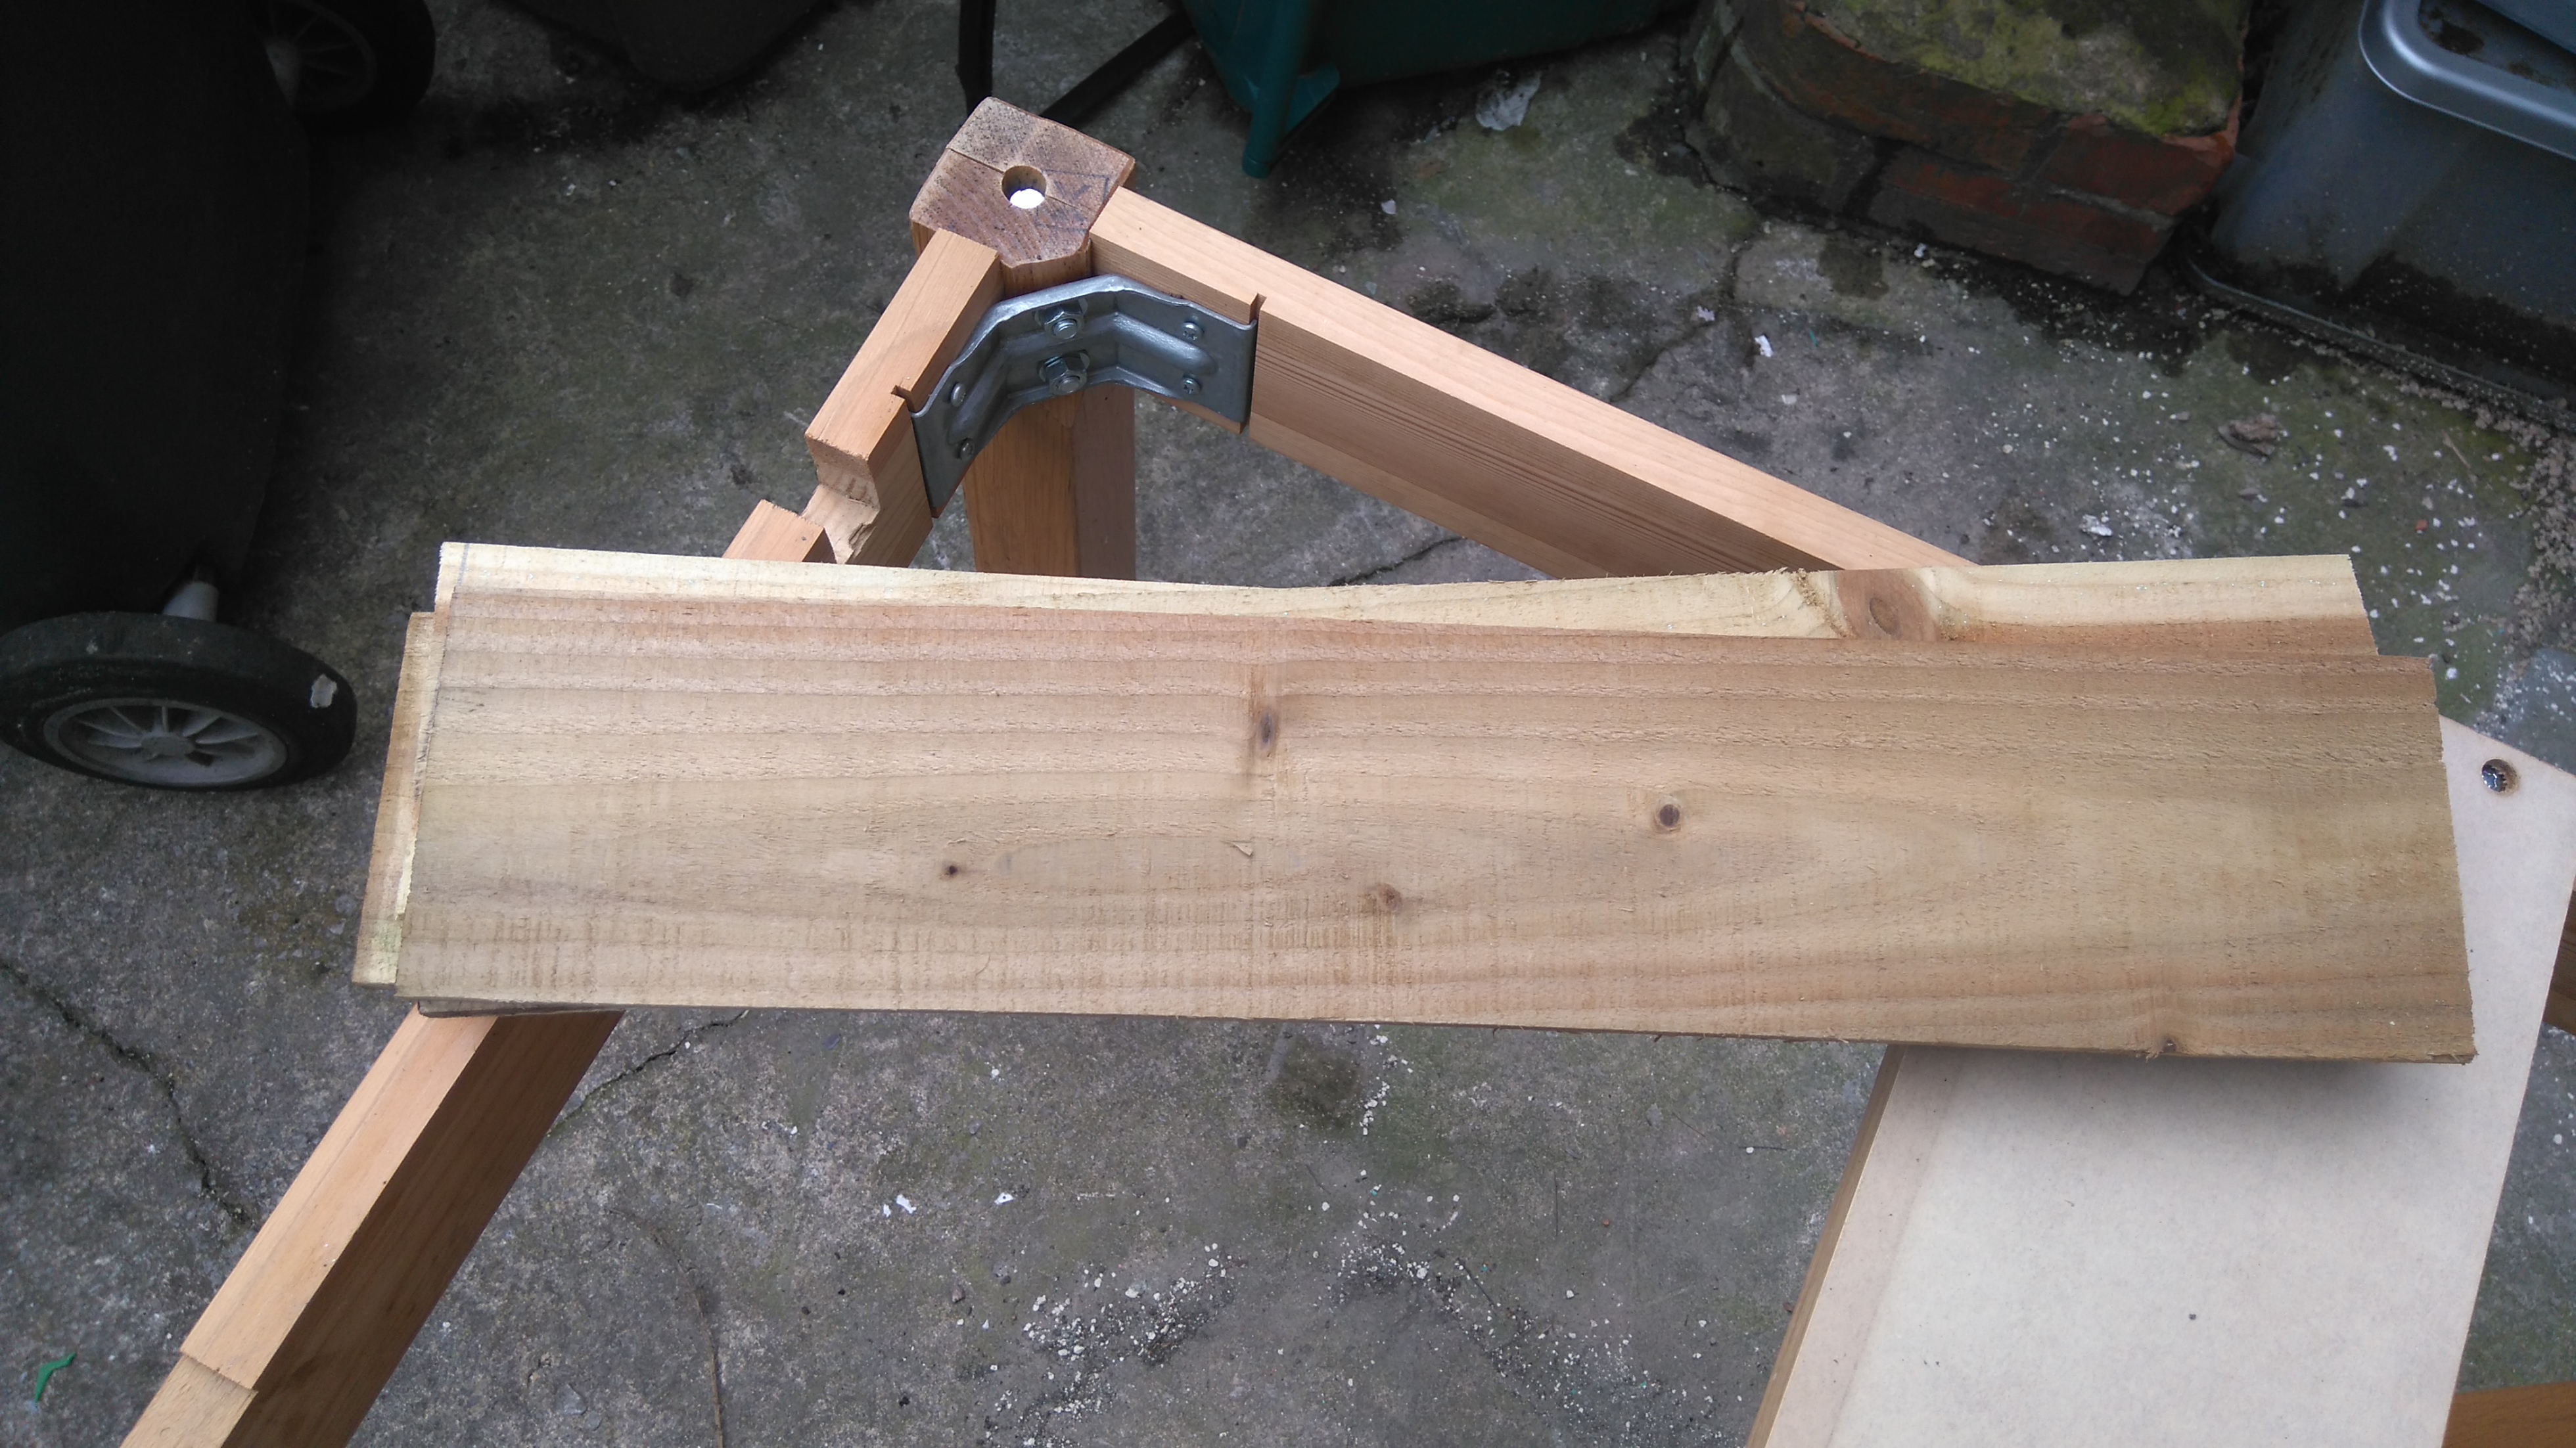
The stakes to go into the ground were a piece of 2″ x 4″ wood cut at an angle. I figured each one would be the length of the edges (4 or 8 inches depending on whether it was single or double height) plus four inches to go into the ground as a stake. So each stake was either 8″ or 12″ long. I cut the ends at an angle to form a stake purely because it was easier than trying to do it afterwards.
One or two of the edging boards were then attached to a stake at one end and then at the other to form an edge. I made two of these and then joined them together. I did use screws but to be honest nails are much easier though you will need to support the planter as the hammering makes it hard to keep it together and square. The second one I built I used nails and found it so much quicker to do!
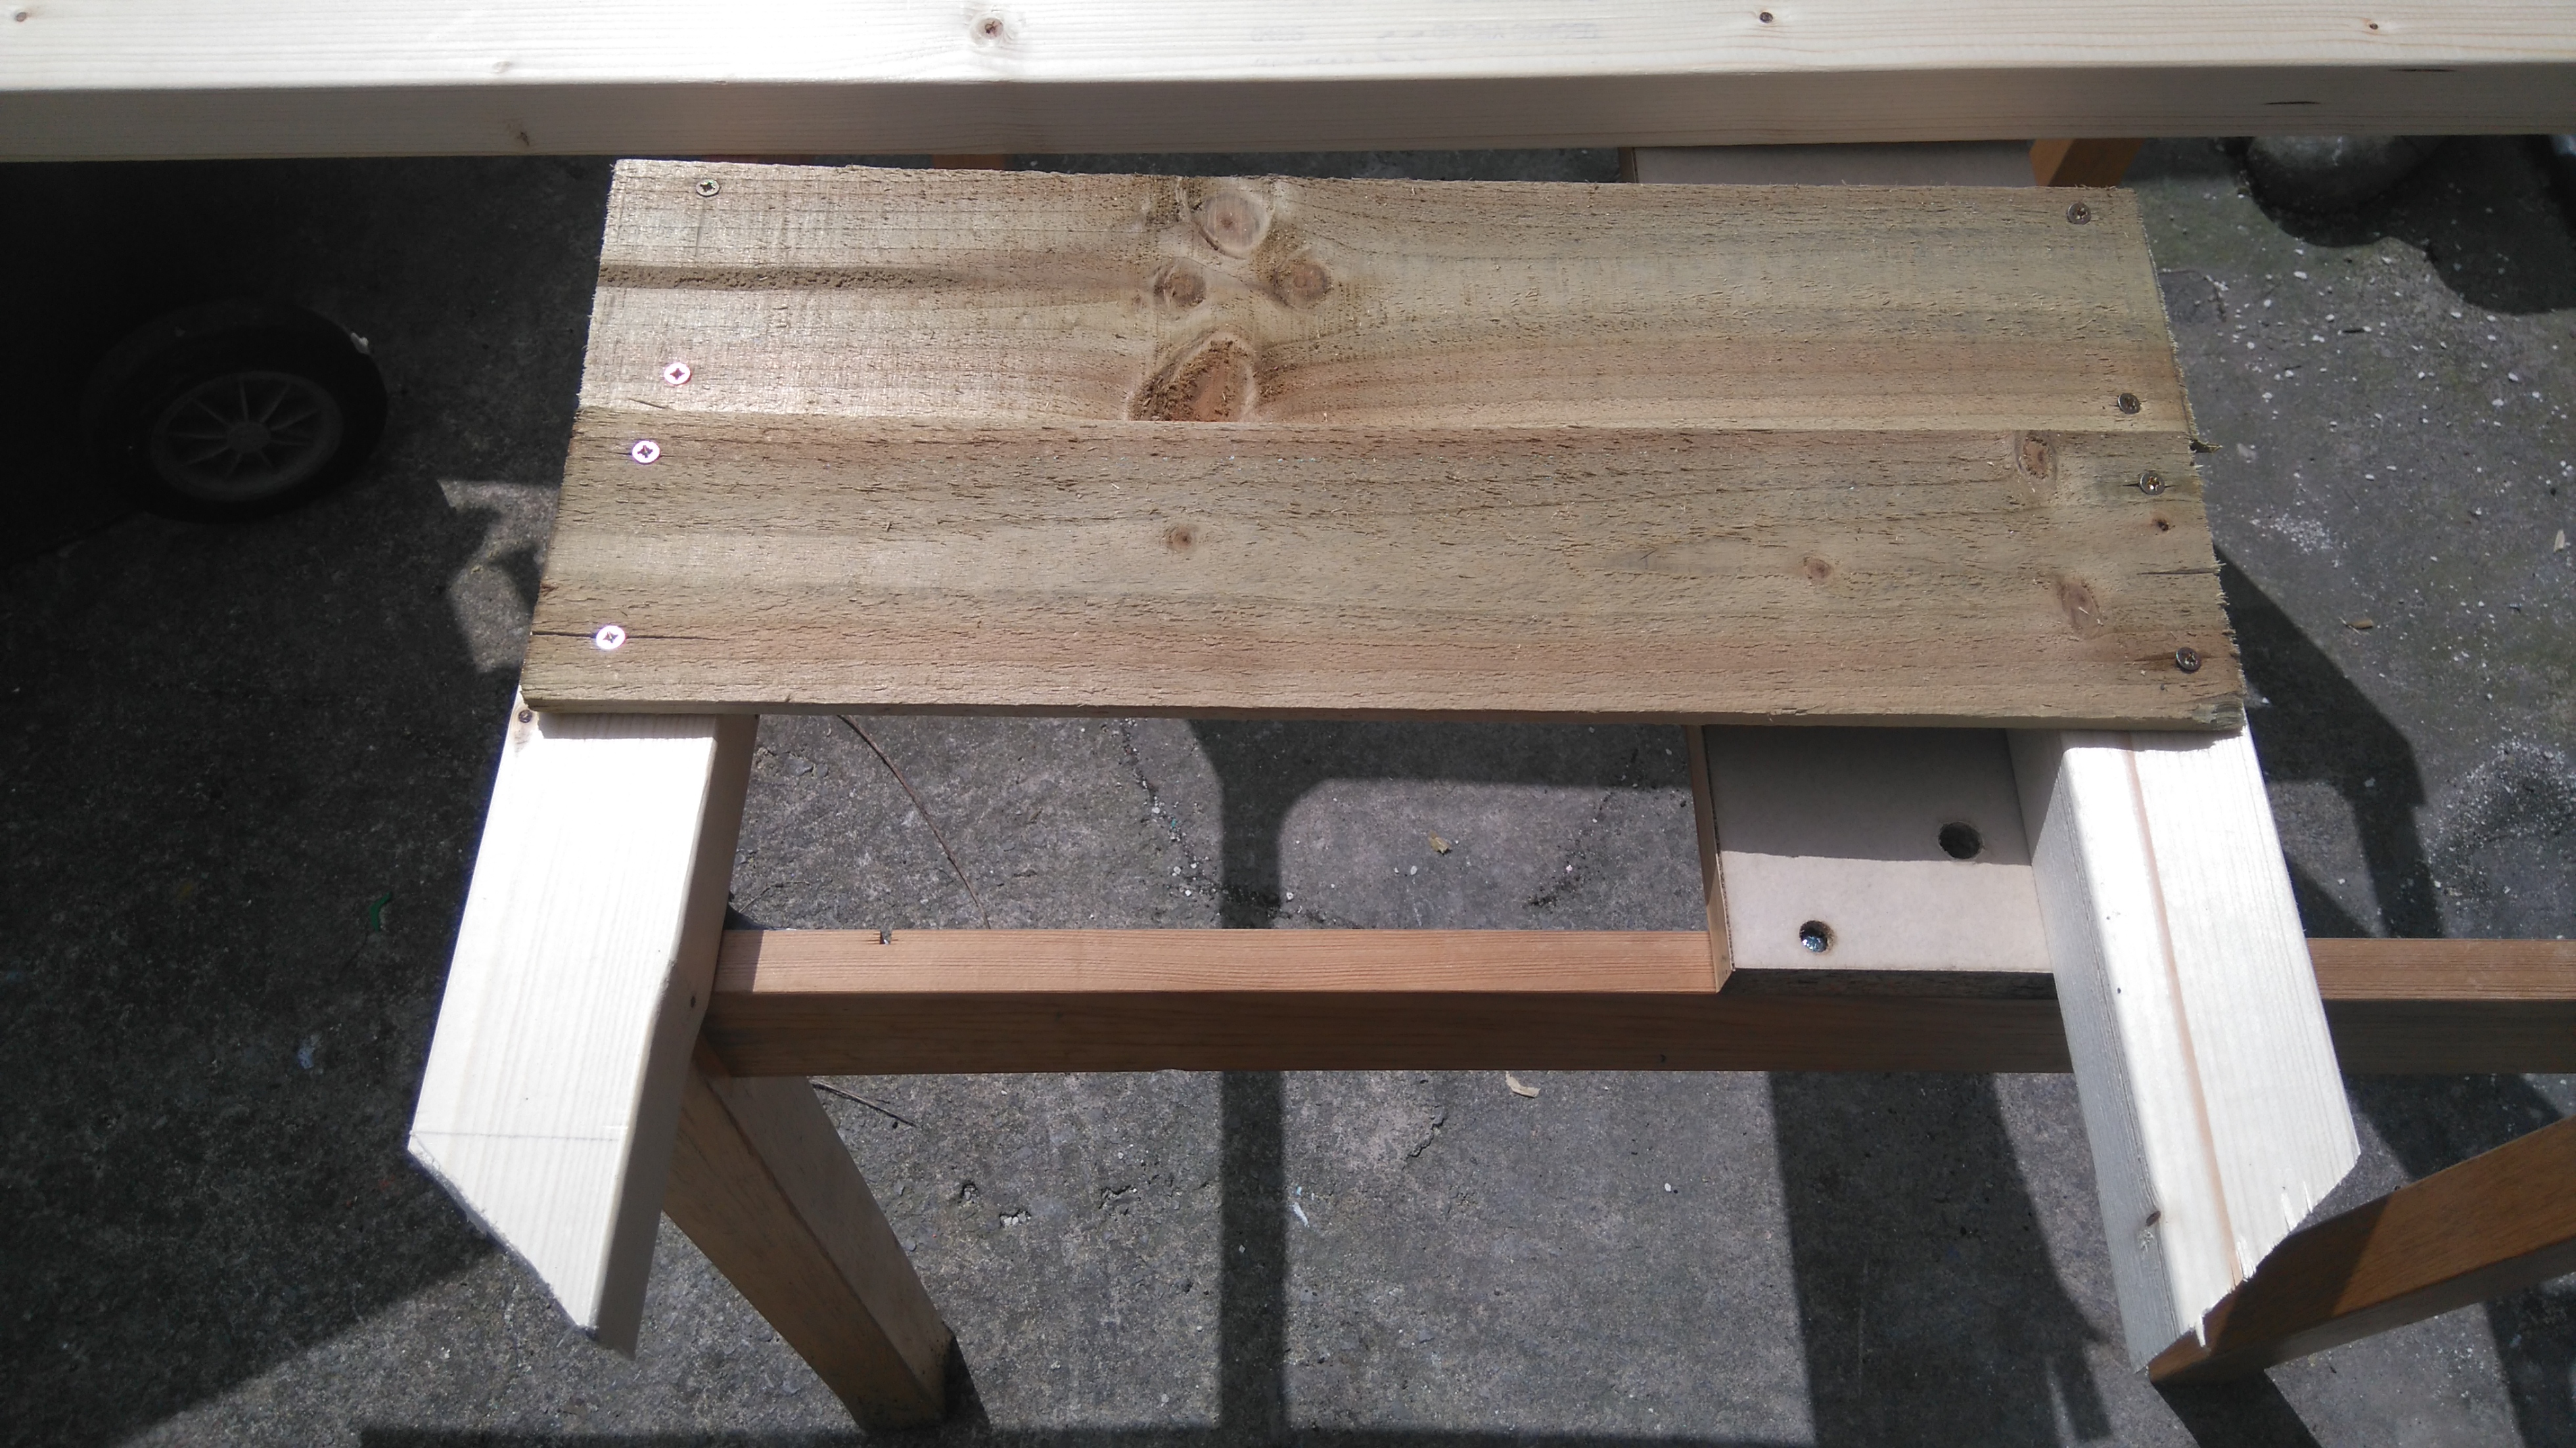
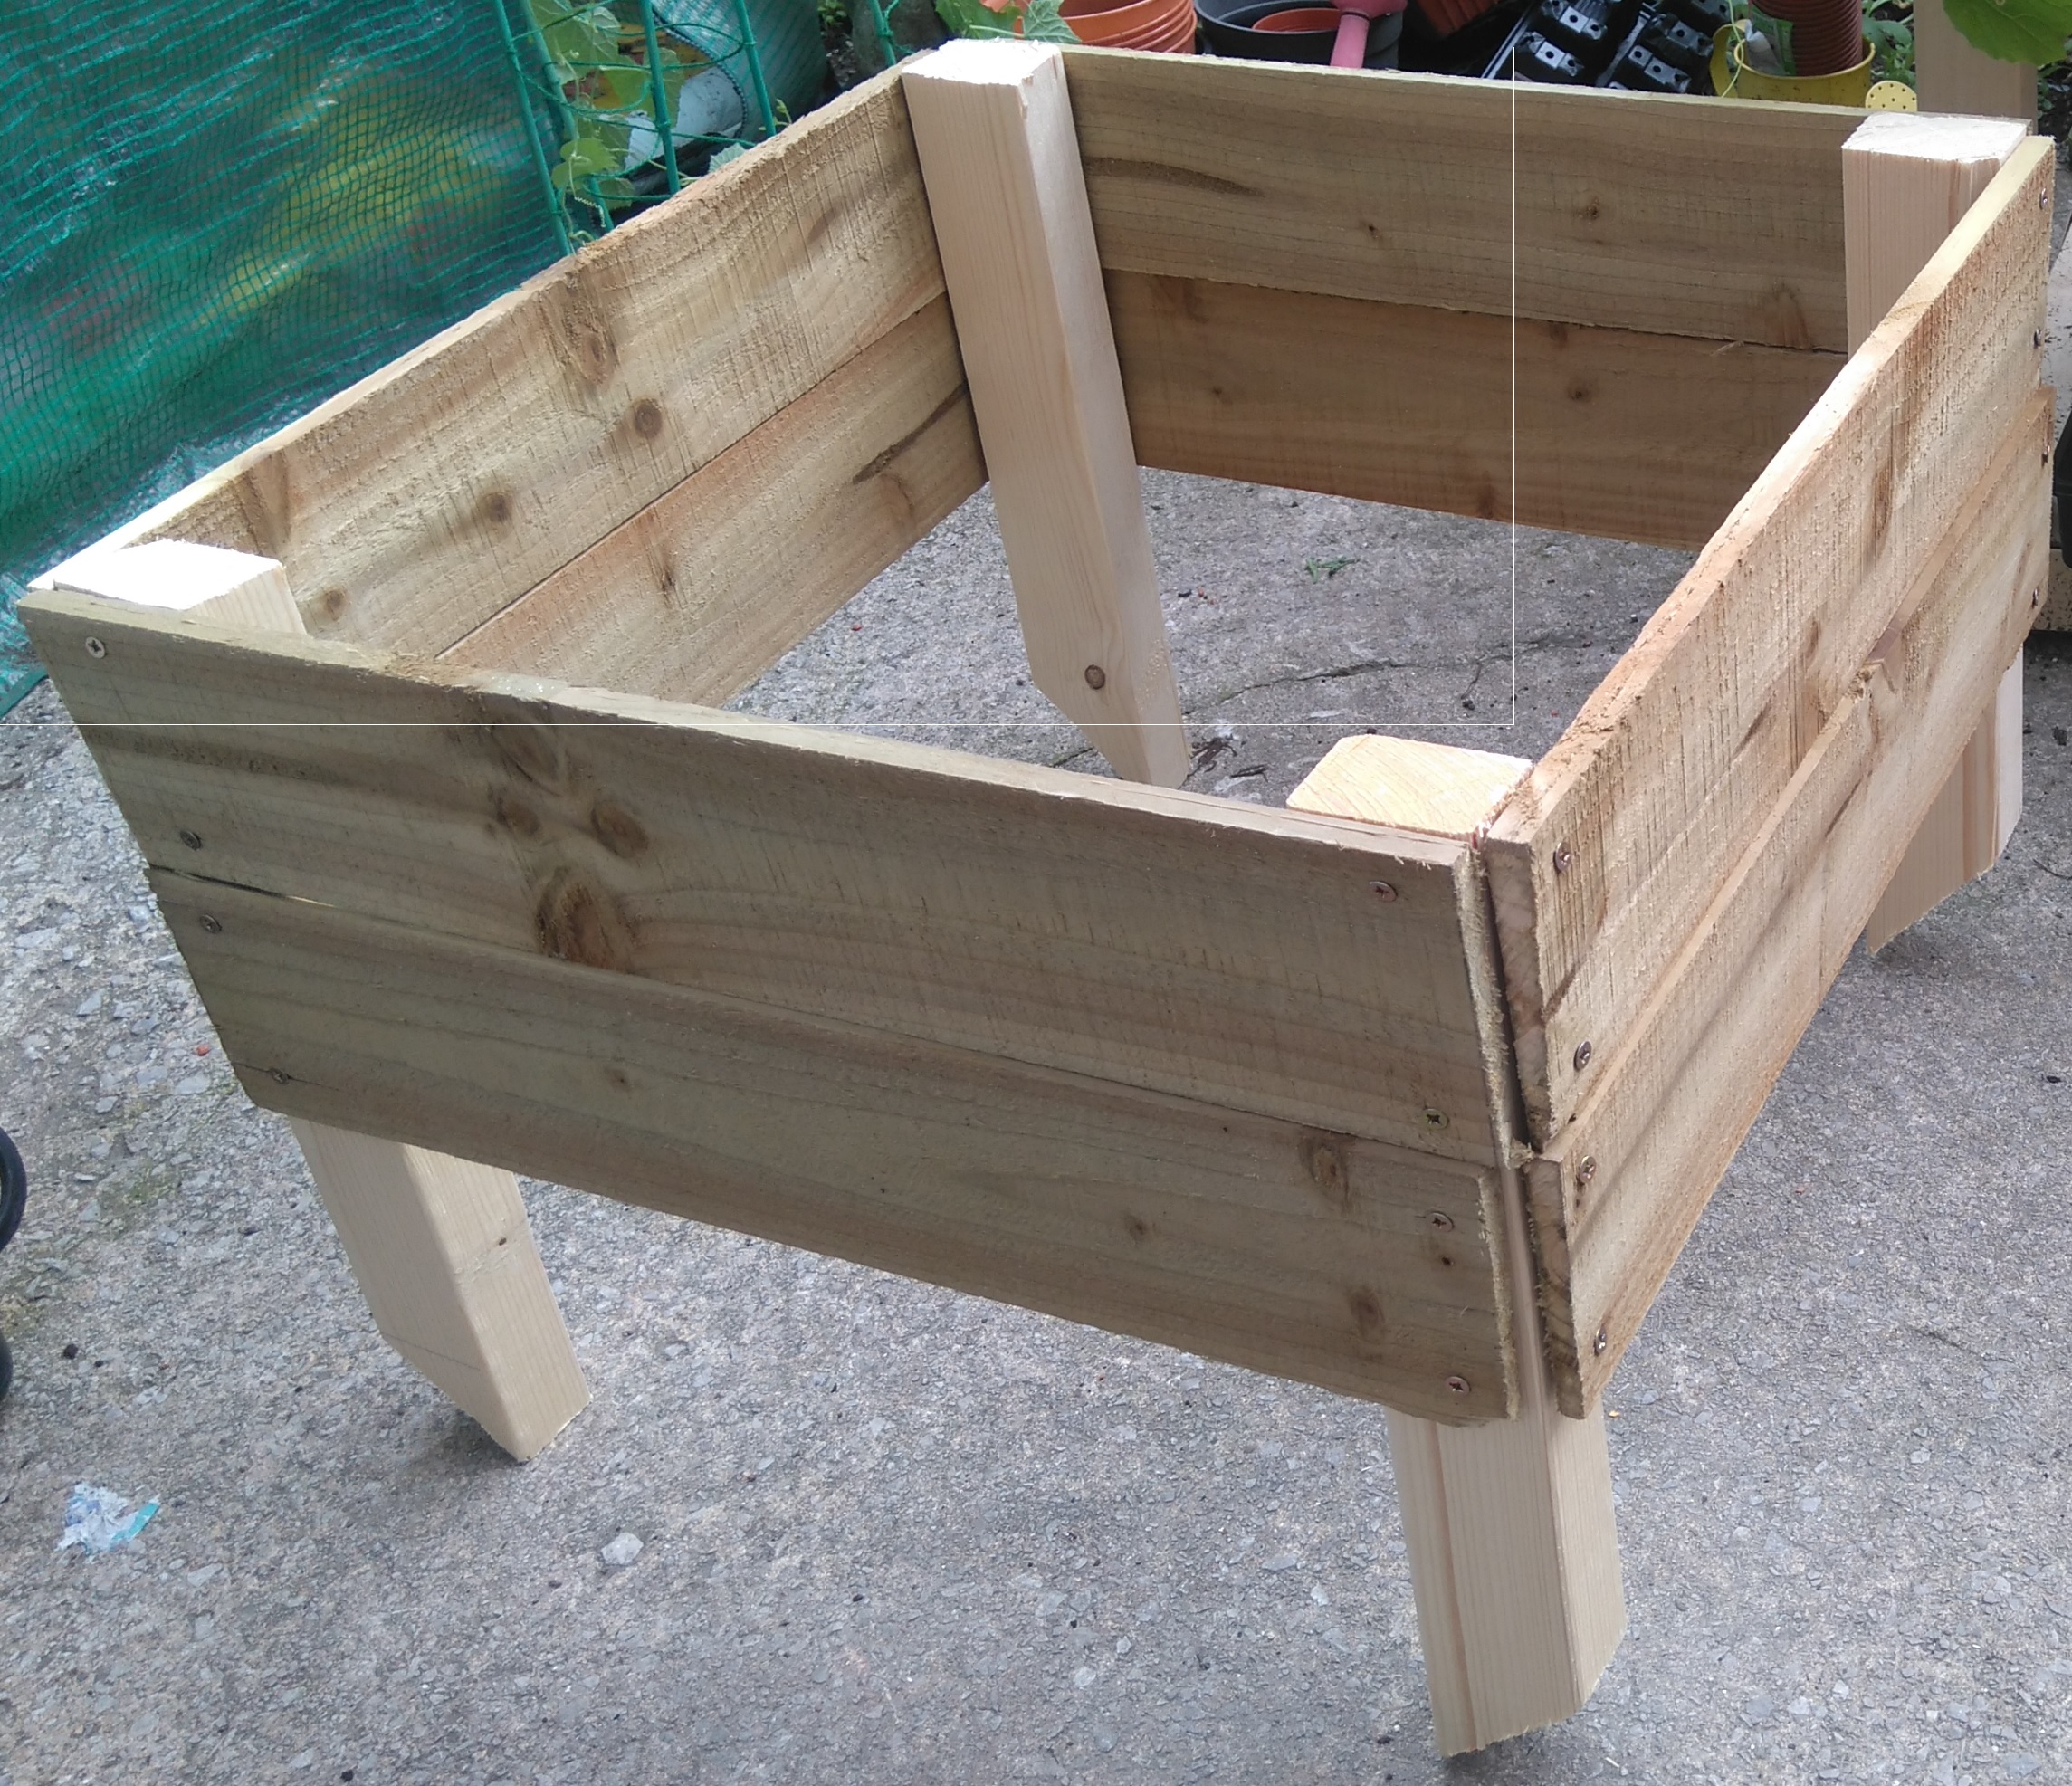
So I built two of the above and then used the other edging boards to join them together to form a box. It can require some balancing if you are doing it on your own so you may find it easier to get a friend to hold the wood for you.
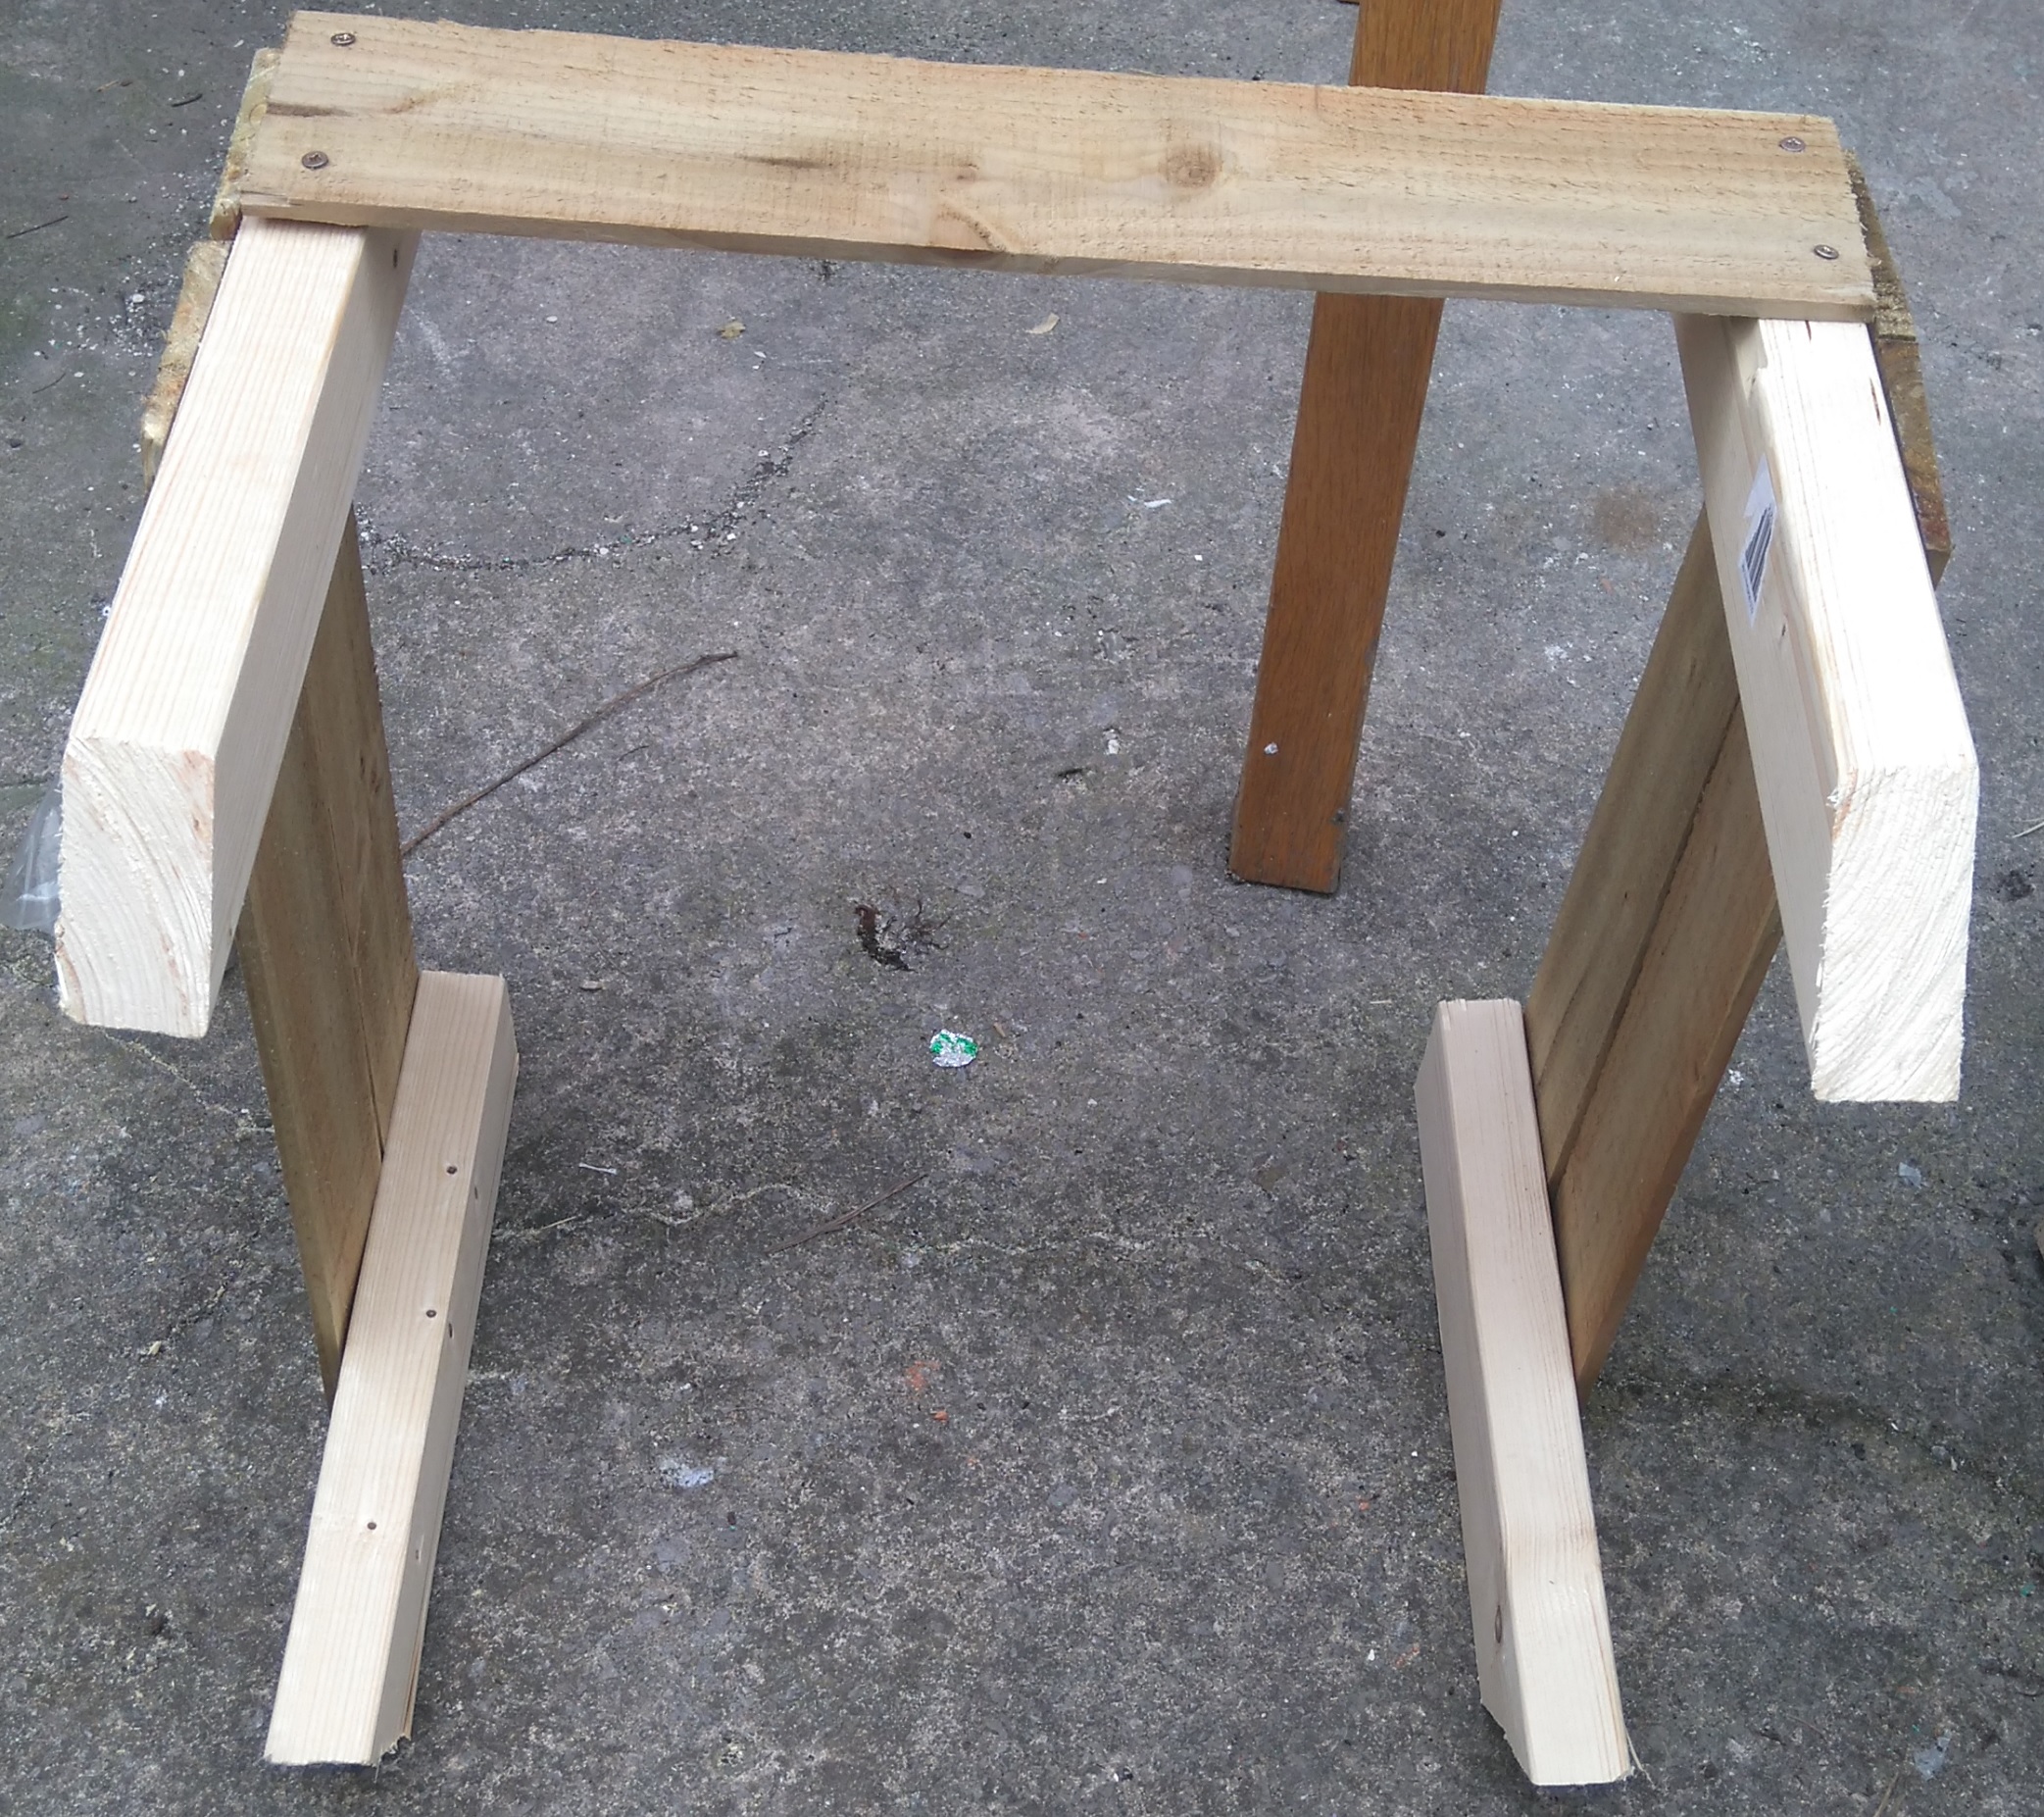
Then the final side was attached and the planter was complete!
I’ll admit, it’s no oil painting and certainly won’t win any design competitions but I’m not particularly good at woodwork and it is functional. It will last a few years and do what I want plus it is small enough that I can move it when I want to put larger raised beds in that end of my allotment. It was cheap to make, the featheredge boards were 99p (around $1.50) and you only needed one for a 15″ square planter as it was 60″ long. The stakes were more expensive as that piece of wood cost me £2.99 (around $4) but made 10 to 12 stakes depending on the length.
So all in all these were very quick to make, taking about half an hour to make one. It would have been quicker to make the first one but I hadn’t realised my saw was blunt and didn’t have an electric saw. Making the second was far quicker as I used nails and an electric saw and it took less than 15 minutes, including stopping to take pictures!

Once the planters were made they were put in place and the stakes pushed into the ground. Because the soil was so hard I had to dig out holes for the stakes and one I couldn’t get flush to the ground due to the number of stones in the soil. They were filled with a mixture of compost, manure and top soil and then planted. The blue pellets are slug pellets to try to protect the plants.
The project was good fun and I will certainly build some more. I may even build full sized raised beds out of the featheredge boards if I am unable to obtain scaffolding boards at a reasonable price as it was remarkably easy to work with.


Speak Your Mind