 Oca is a really unusual crop that you will not see too often, few people have heard of it, let alone grow it. It will become a really valuable crop for allotment owners and gardeners in years to come because it does not suffer from blight, pests don’t like it and the crop will last for several months at room temperature without going soft or rotting.
Oca is a tuber much like new potatoes. The larger tubers can be cooked and eaten like new potatoes, with a slight hint of lemon, whilst the smaller ones can be eaten just like a radish. The tubers come in a variety of colours and are not the cheapest, but you can keep a number of the tubers for the following season – they will happily stay in the soil over winter unless there is a really heavy frost. Just like potatoes you will find them popping up the year after!
The flesh of an Oca tuber is firm, crisp but also juicy and can be eaten raw or lightly cooked. If you cook it too much then it can become a little bit starchy. If you are eating Oca raw then don’t peel them, just wash and clean them – they go great in salad! You can also boil, bake, fry or grill them just like potatoes and are great in stews or soups. The tubers are very rich in iron, calcium and carbohydrates. The leaves can even be picked in the summer and eaten raw in a salad for a tangy, lemony taste.
Planting Oca
The tubers can be planted in 6″ pots of a good multi-purpose compost in April and then planted out towards the end of May when the risk of frost has passed. Whilst the tubers can survive over winter in the soil, the foliage is not frost hardy.
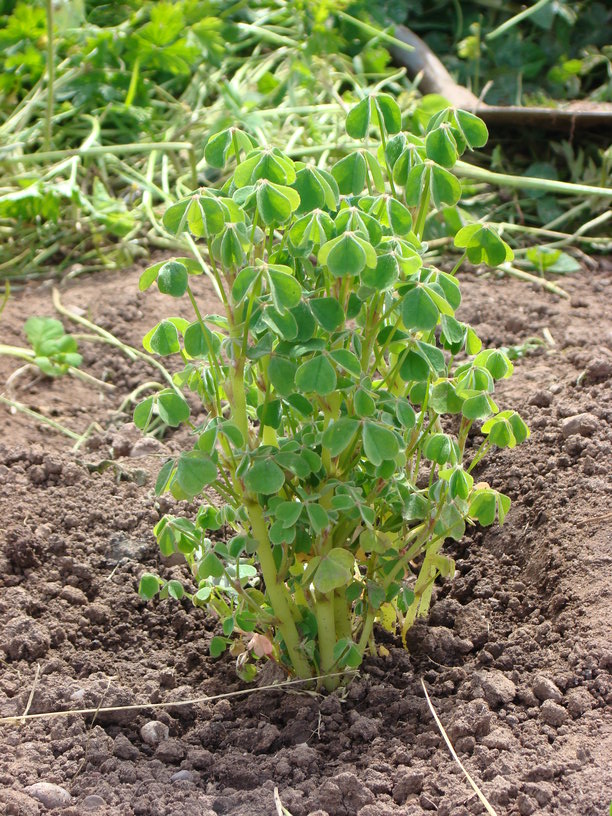
The tubers grow in to bushy plants and you need about 3 feet between the plants. You can extend the growing seasons by putting a cloche over the plants to protect them when the weather starts to turn cold.
Alternatively, plant the tubers directly in to the soil towards the end of May, by which time they may have started sprouting. Note that they do not need chitting like potatoes.
Plant each tuber around 3″ deep and cover with soil. You can cover them with fleece to warm the soil, though remove it in the middle of June when it has warmed up.
Like potatoes, Oca can benefit from being earthed up so that the tubers do not get exposed to sunlight (though they do not turn green like potatoes). Oca prefers a good, well drained soil and will appreciate a feed during the summer months. A good mulch can help keep the soil damp and help the plant grow.
Water the plant well in dry spells and then when the tubers start to grow around the middle of September, water them regularly to promote tuber growth.
The plants are harvested in late autumn and can be stored at room temperate for several months. The frost will kill off the leaves and then you can harvest the tubers. Carefully dig them up and store them like you would a potato, though they do not need keeping out of the light. Keep some of the tubers and allow them to sprout for a crop the following year.
Oca is a very interesting plant and a great alternative to potatoes if you have suffered from blight. Give it a go and see what you think, you might be pleasantly surprised!


