I often see people giving up their beloved allotment because they don’t have the time for it. There are times in our lives when this is the case but it is possible to manage your allotment on a minimal time allowance. I will admit to being a lazy gardener … I don’t mind doing work, but I don’t want to do it if I don’t have to!
Every year I see people painstakingly spending hours digging over their plots in October or November, then the spring comes and they dig them again. What if you could keep your allotment and minimize the amount of work you have to do?
Before we go any further, I will tell you that this is going to cost you some money to do, but you can keep this down to a minimum easily enough.
Weed Membrane
Firstly, you are going to need weed membrane, and lots of it. Don’t buy the cheap stuff from the pound shops as it will barely last a season and make even more work for you! Buy the good, woven weed fabric, available on Amazon UK here and US here. I use the Yuzet brand because it is very high quality, will not let weeds through and will last for a number of years. Get the pegs that you use with it as they are a lot less unsightly than using bricks to hold it down (plus you won’t trip over the pegs like I do on bricks).
Although you can cut this weed membrane one direction, when you are going across the weave it is very difficult to cut and will fray. Use a blow torch to seal the edges and for making holes in the membrane to place.
You will want some 2m wide weed membrane and some 1m wide weed membrane. You can also buy some heavy duty tarps too. ANY area of your allotment that isn’t in use is immediately covered with weed membrane and left. This will stop the weeds coming through and reduce the amount of work you have to do. If your allotment is covered in weeds then cover it over and this will help keep the weeds down.
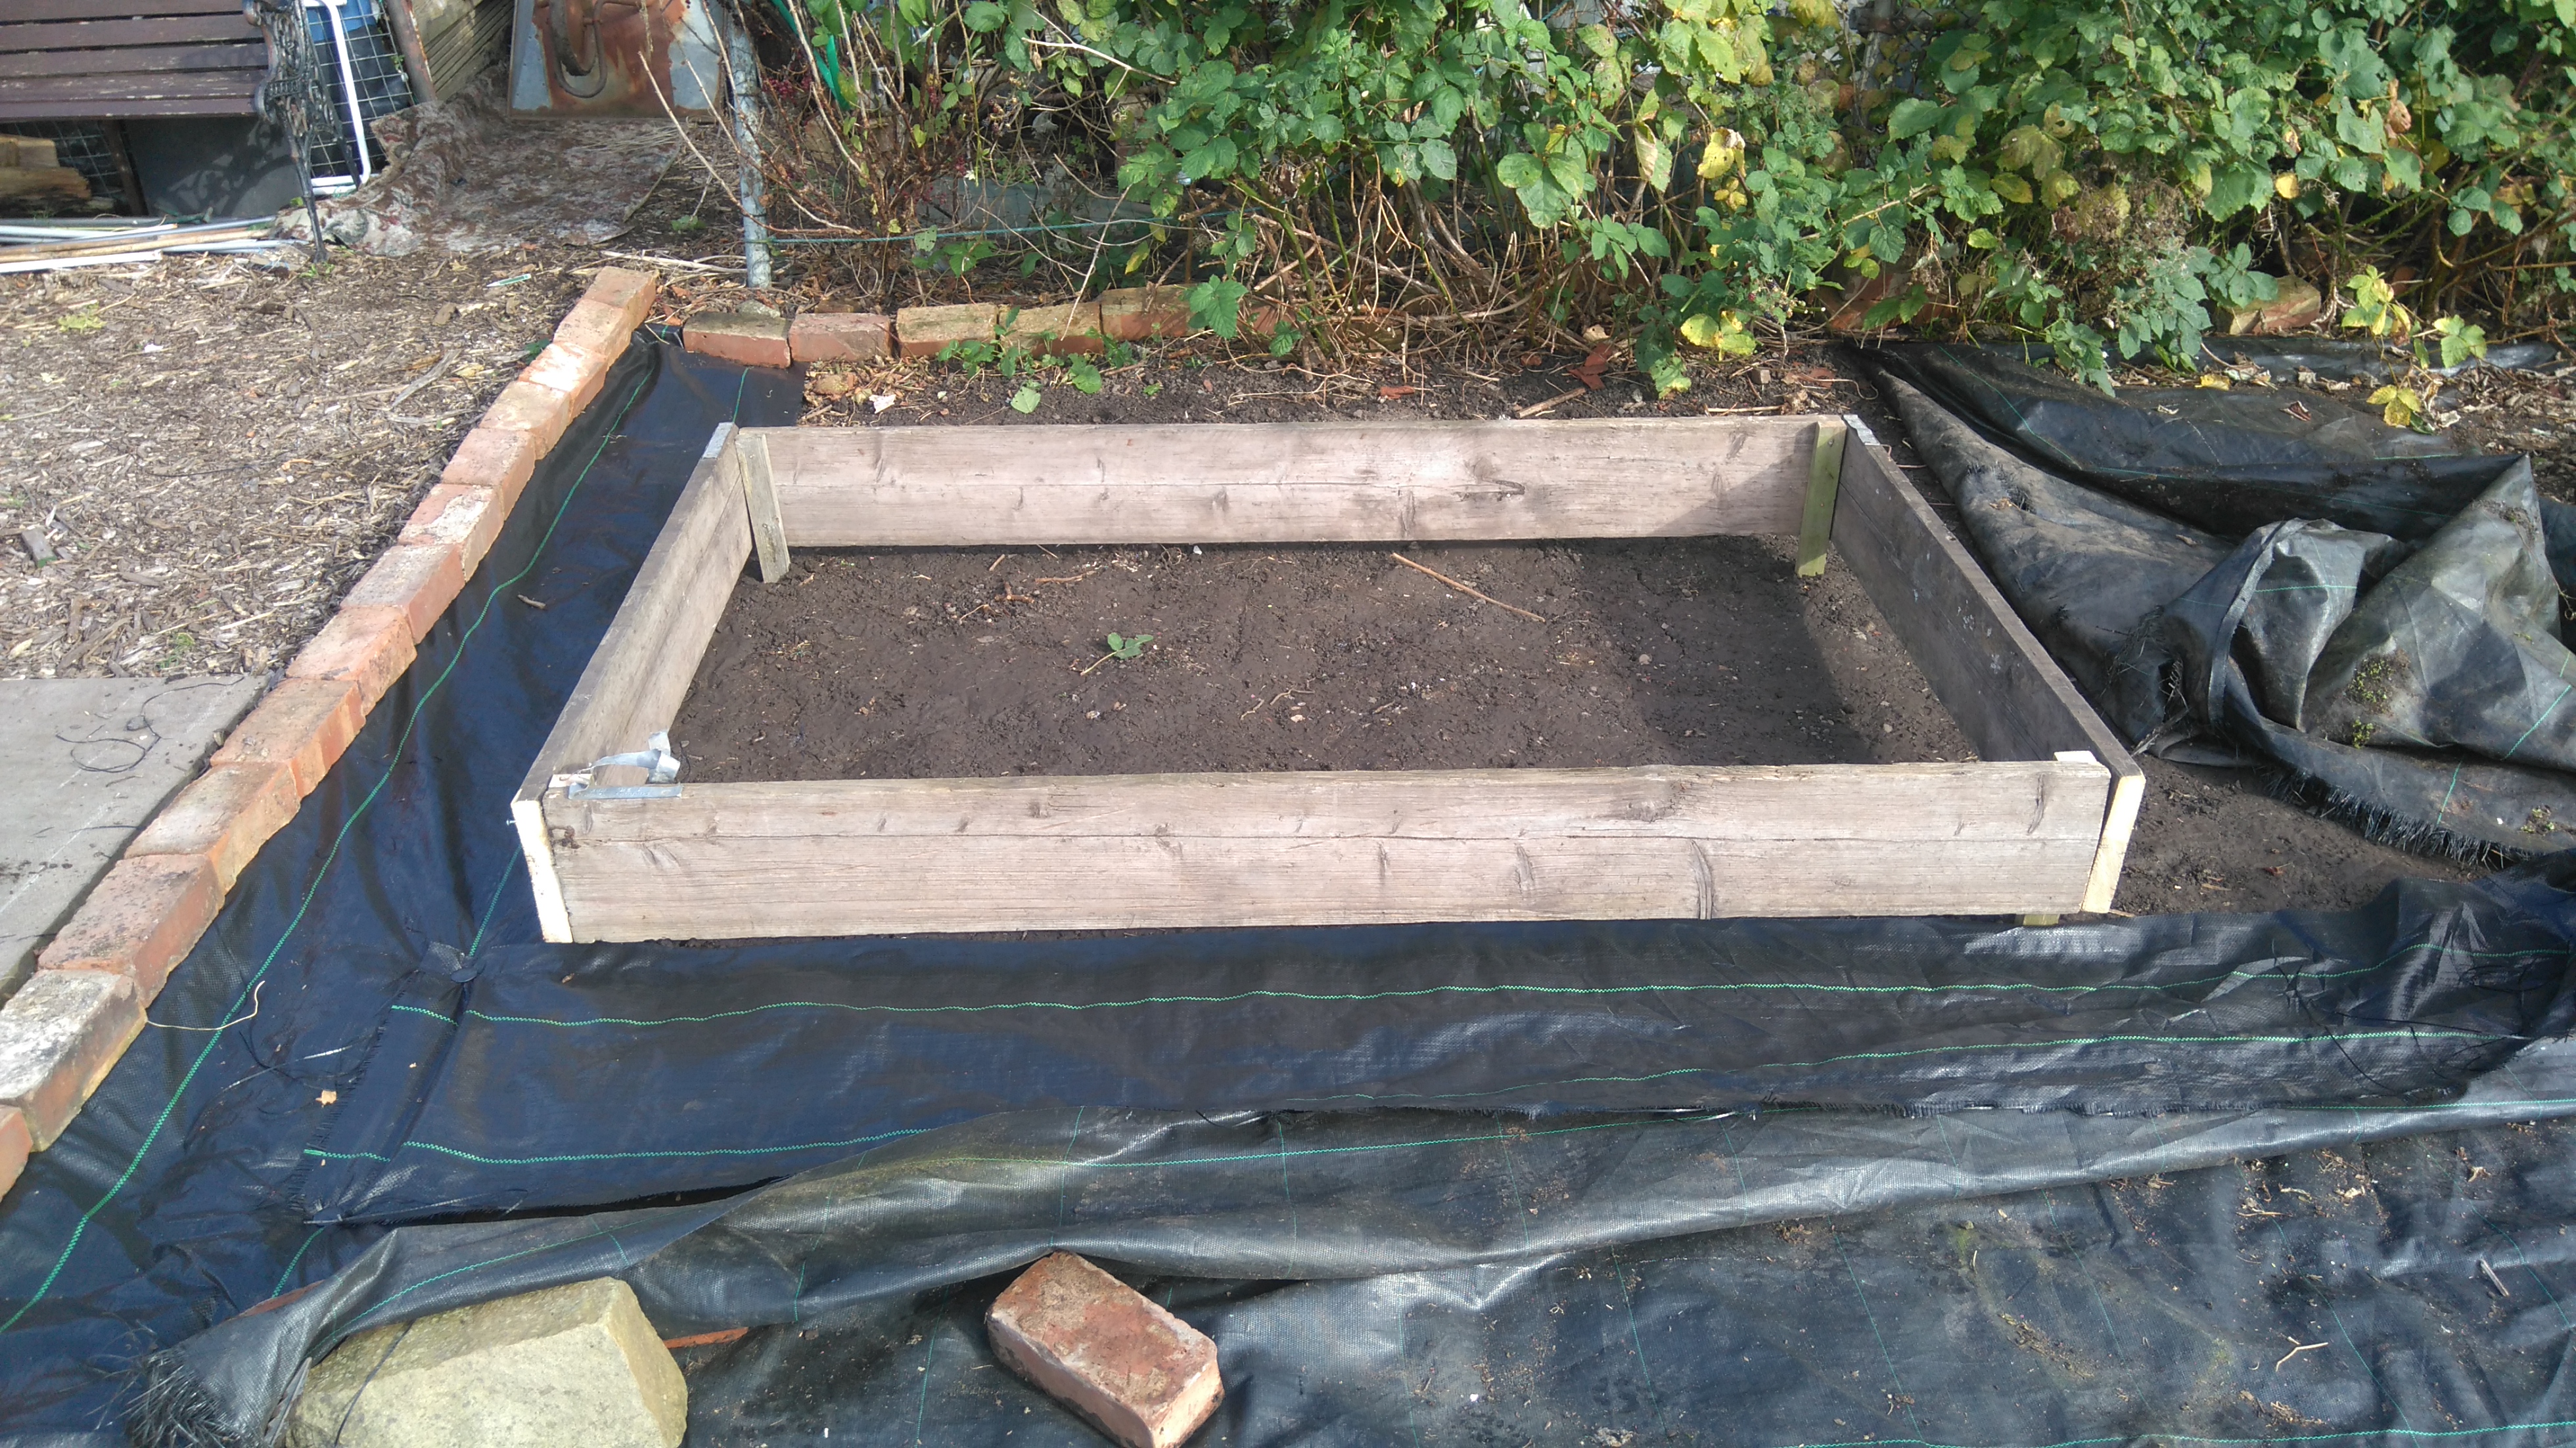
Raised Beds
To keep your work load down you will need to build raised beds. These can be built out of scaffolding boards, other wood, pallet collars or whatever you have to hand. I recommend the beds are 4×2 feet, 4×4 feet or 6×4 feet in size and between 8 and 12 inches deep. The reason being these are manageable, of a good size to produce a good crop and, most importantly, you can reach the entire bed without having to stand on the soil (this is important … more later).
Before you start sawing, plan how you are going to lay out your beds, leaving between 50cm and 1m between beds. I use square paper for this as it is easier to work out what goes where. You can use longer beds if necessary, e.g. 12×2 feet or 12×4 feet (if you have access to both sides of the bed). You can find out a lot more about raised beds in my book on the subject available from Amazon in the UKhere and in the US herehere.
Once you have planned your layout, including entrances and exits to the allotment you can buy the wood. Unless you are a huge fan of the saw or you have electricity at your allotment I would strongly (I mean it!) recommend sawing the wood to size at home using electric tools. Then take it to your allotment where you can build the beds and put them in place. Trust me, it will save a lot of time and aching muscles.
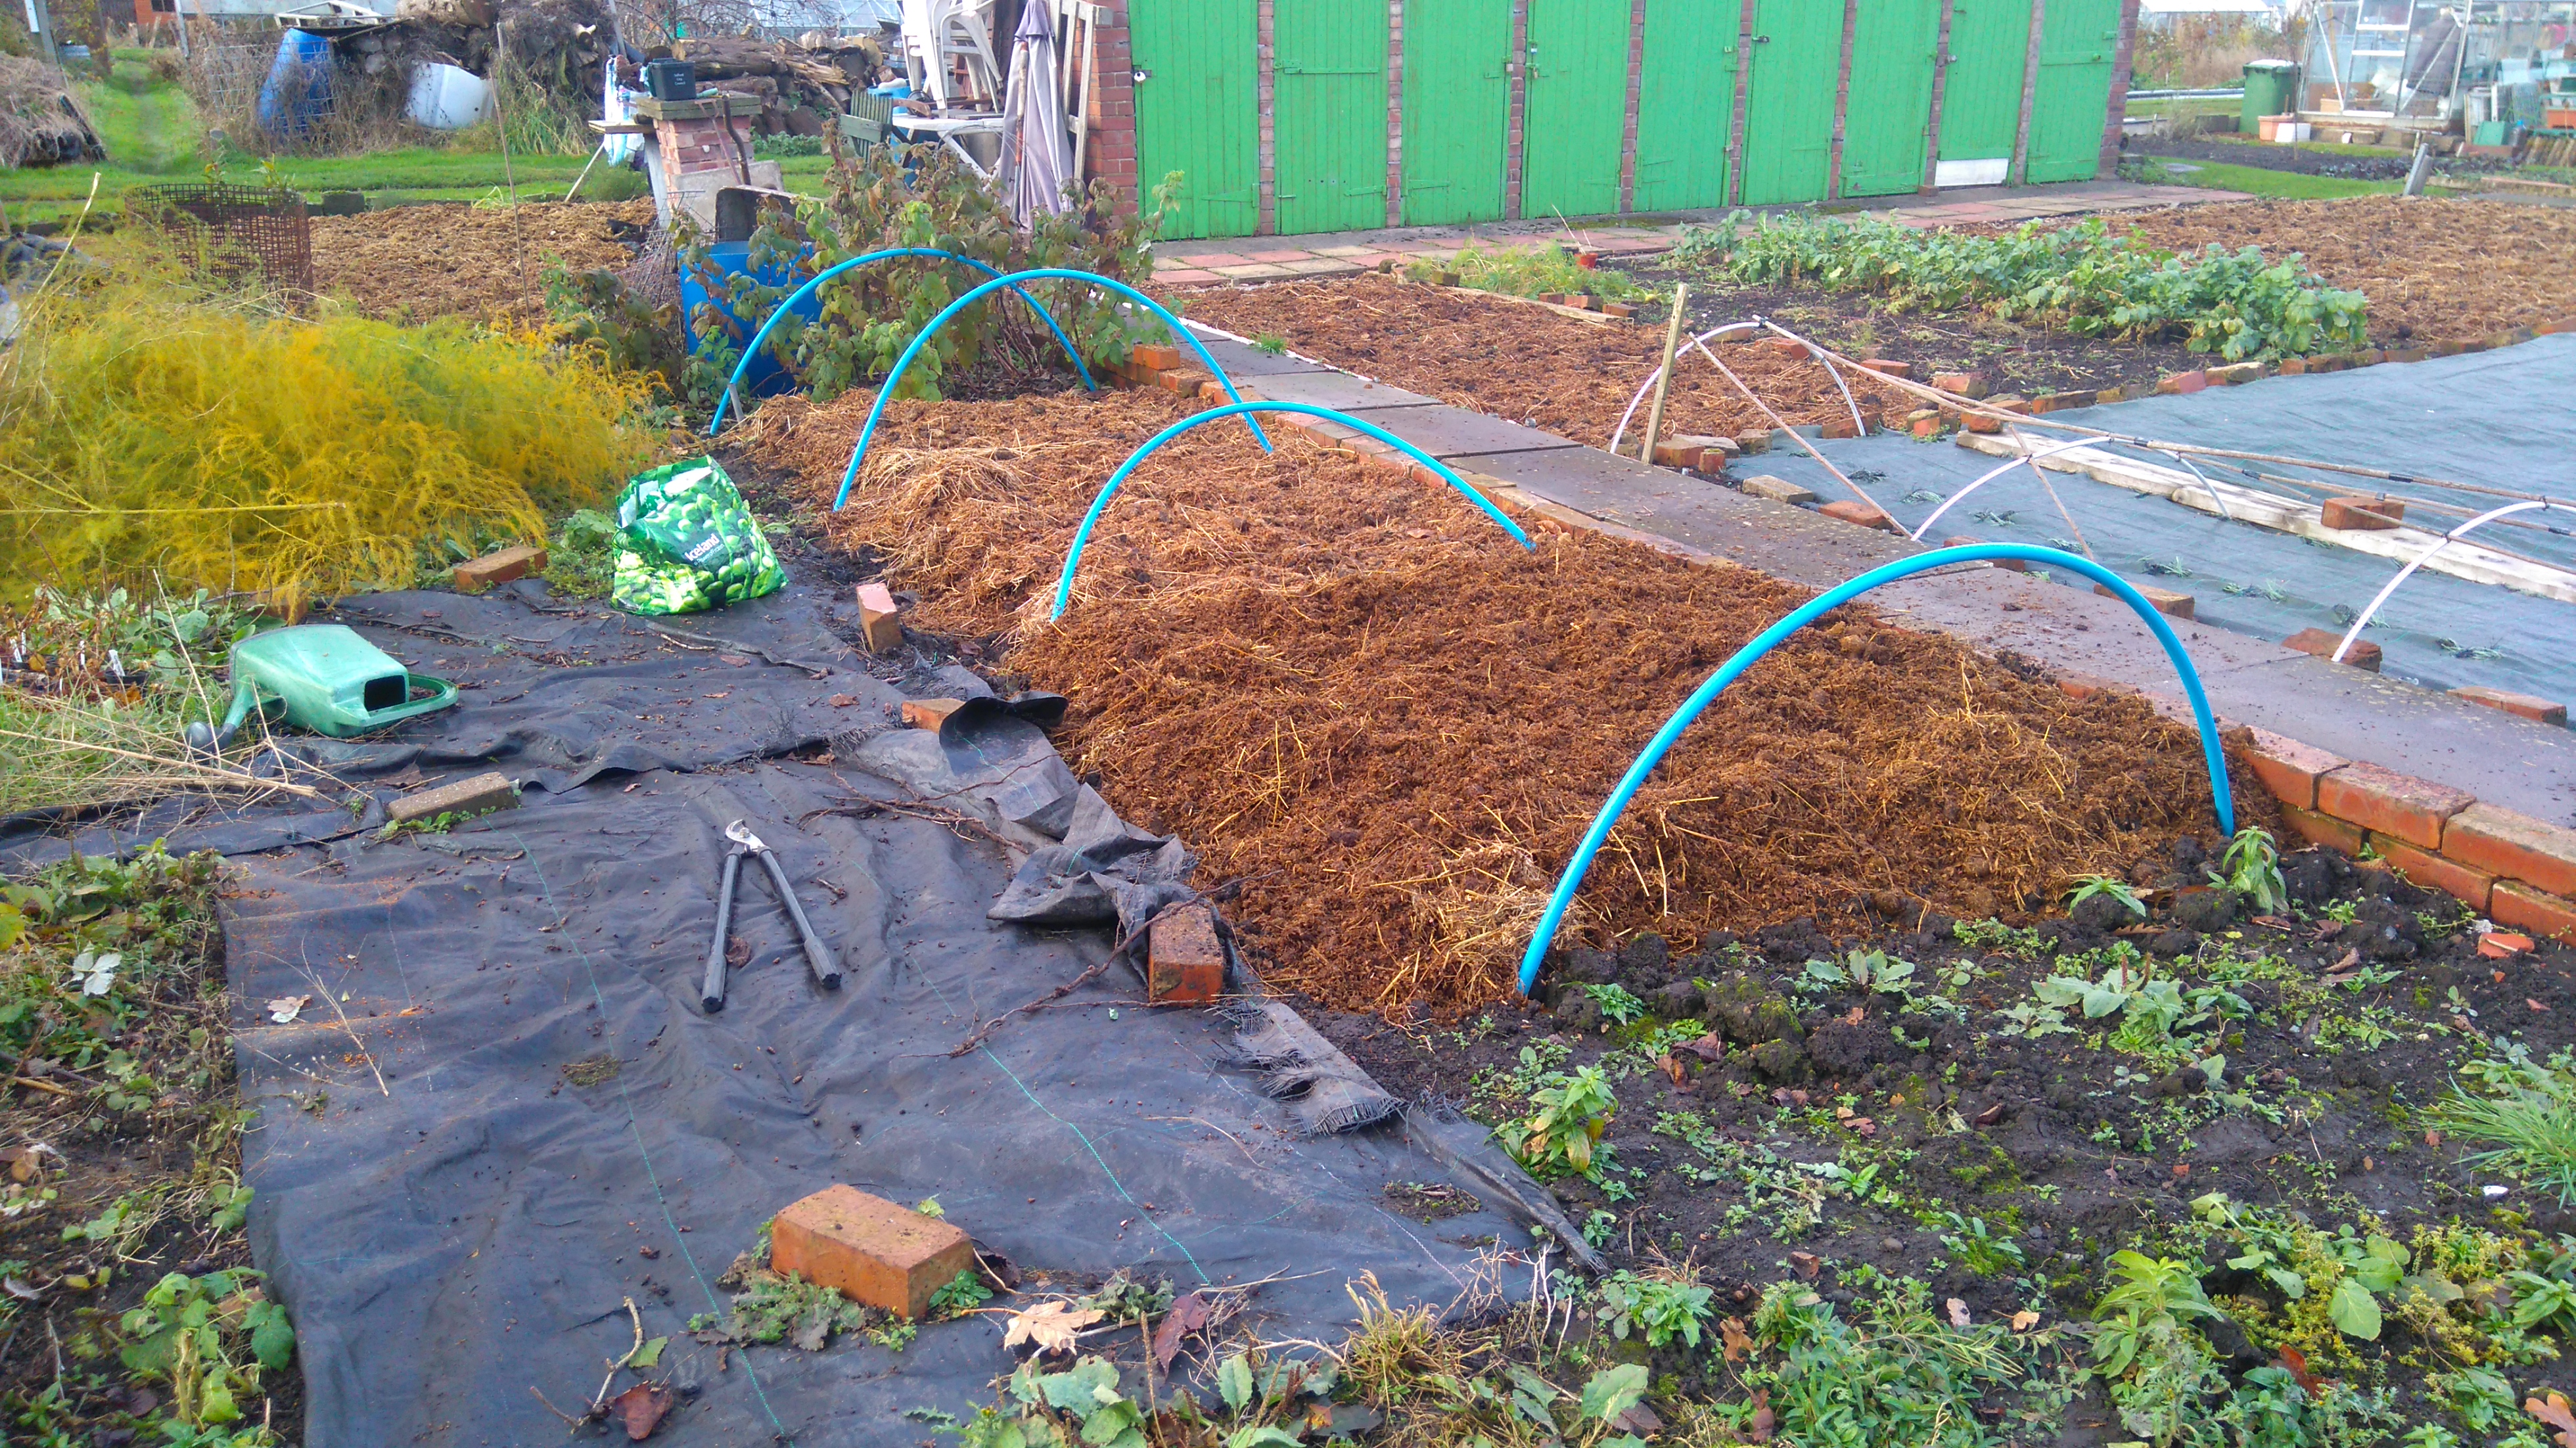
In between each bed you need to run a path using the weed membrane. I tend to have this just under the raised bed and usually make the paths 50cm wide which is large enough for my wheelbarrow. Fix the weed membrane down using the provided pegs.
Some people will put bark on the weed membrane for the paths which looks fantastic. However, every 2 to 4 years you will have to replace the bark because it will have rotted down. It is a lot of work to remove and replace the bark and a nightmare getting rid of part rotted park. Trust me, I’ve done this on a small section of path and it was very hard and dirty work. I would recommend just leaving the weed membrane in place because it is easy to clean and very easy to replace if needed.
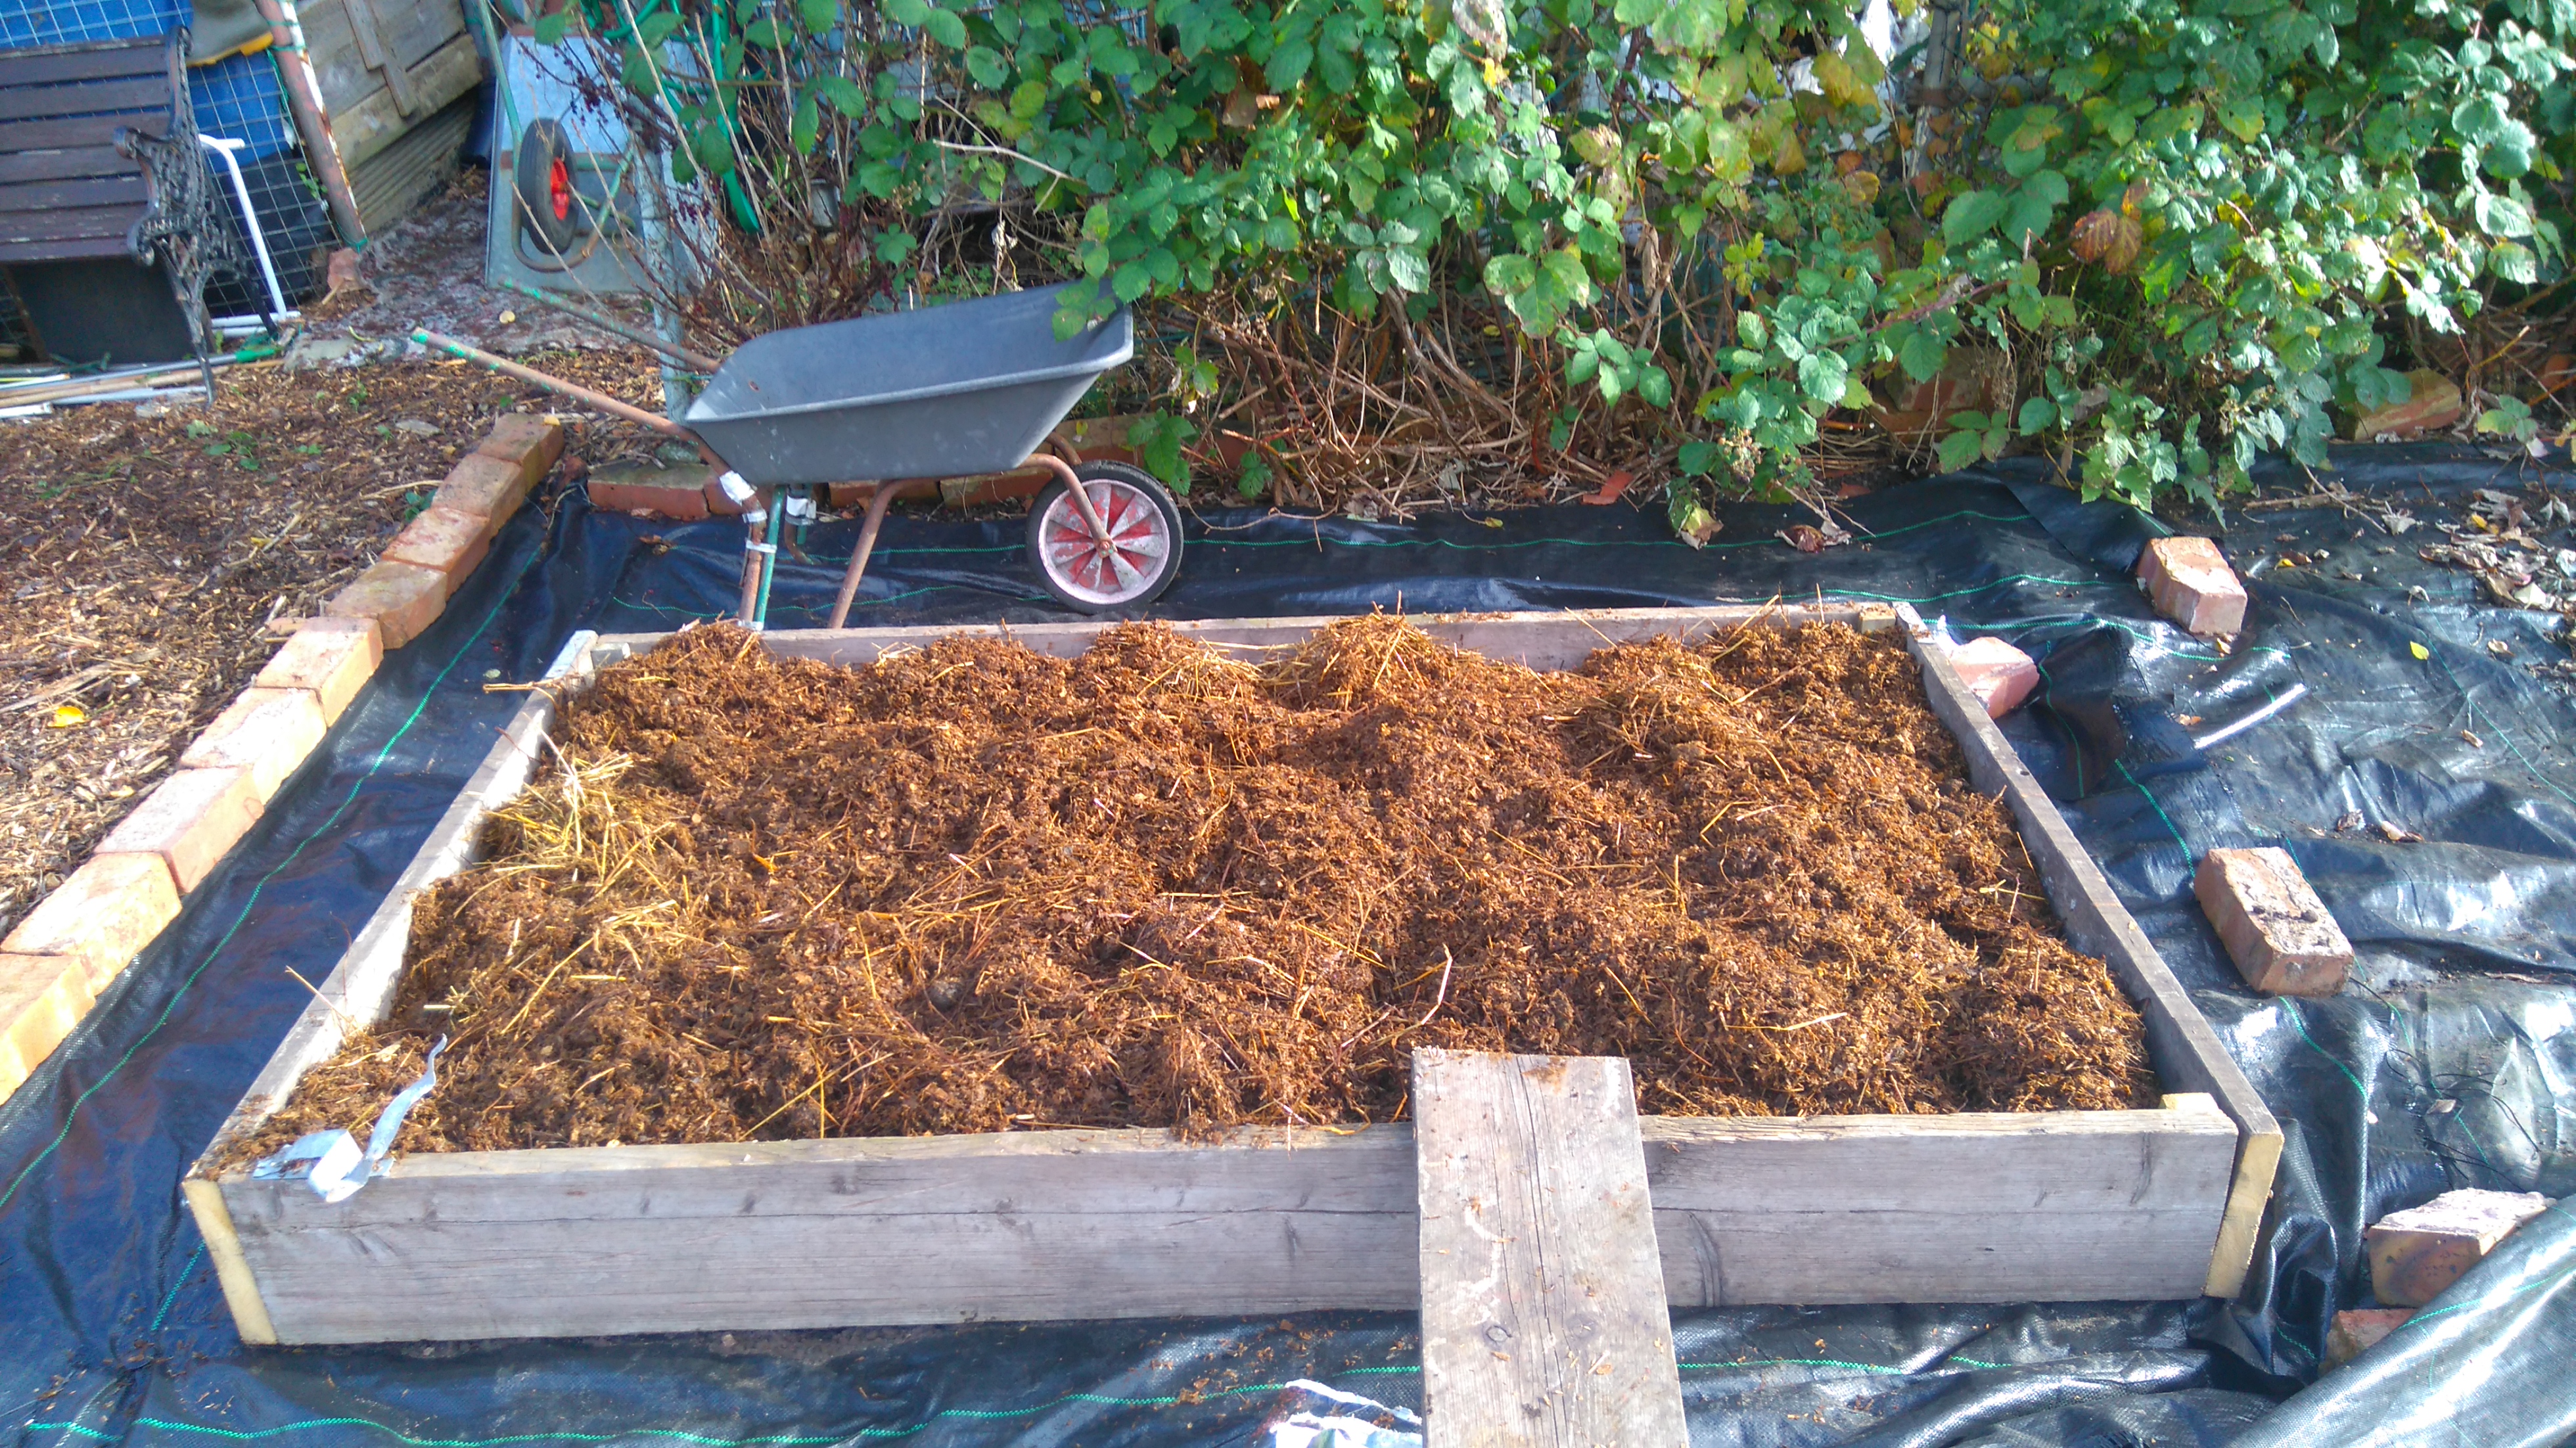
Once they are built you need to fill them with manure, top soil, compost and anything you can get your hands on. Remember that manure will rot down and you are looking for the soil level to be within an inch or two of the top of the boards.
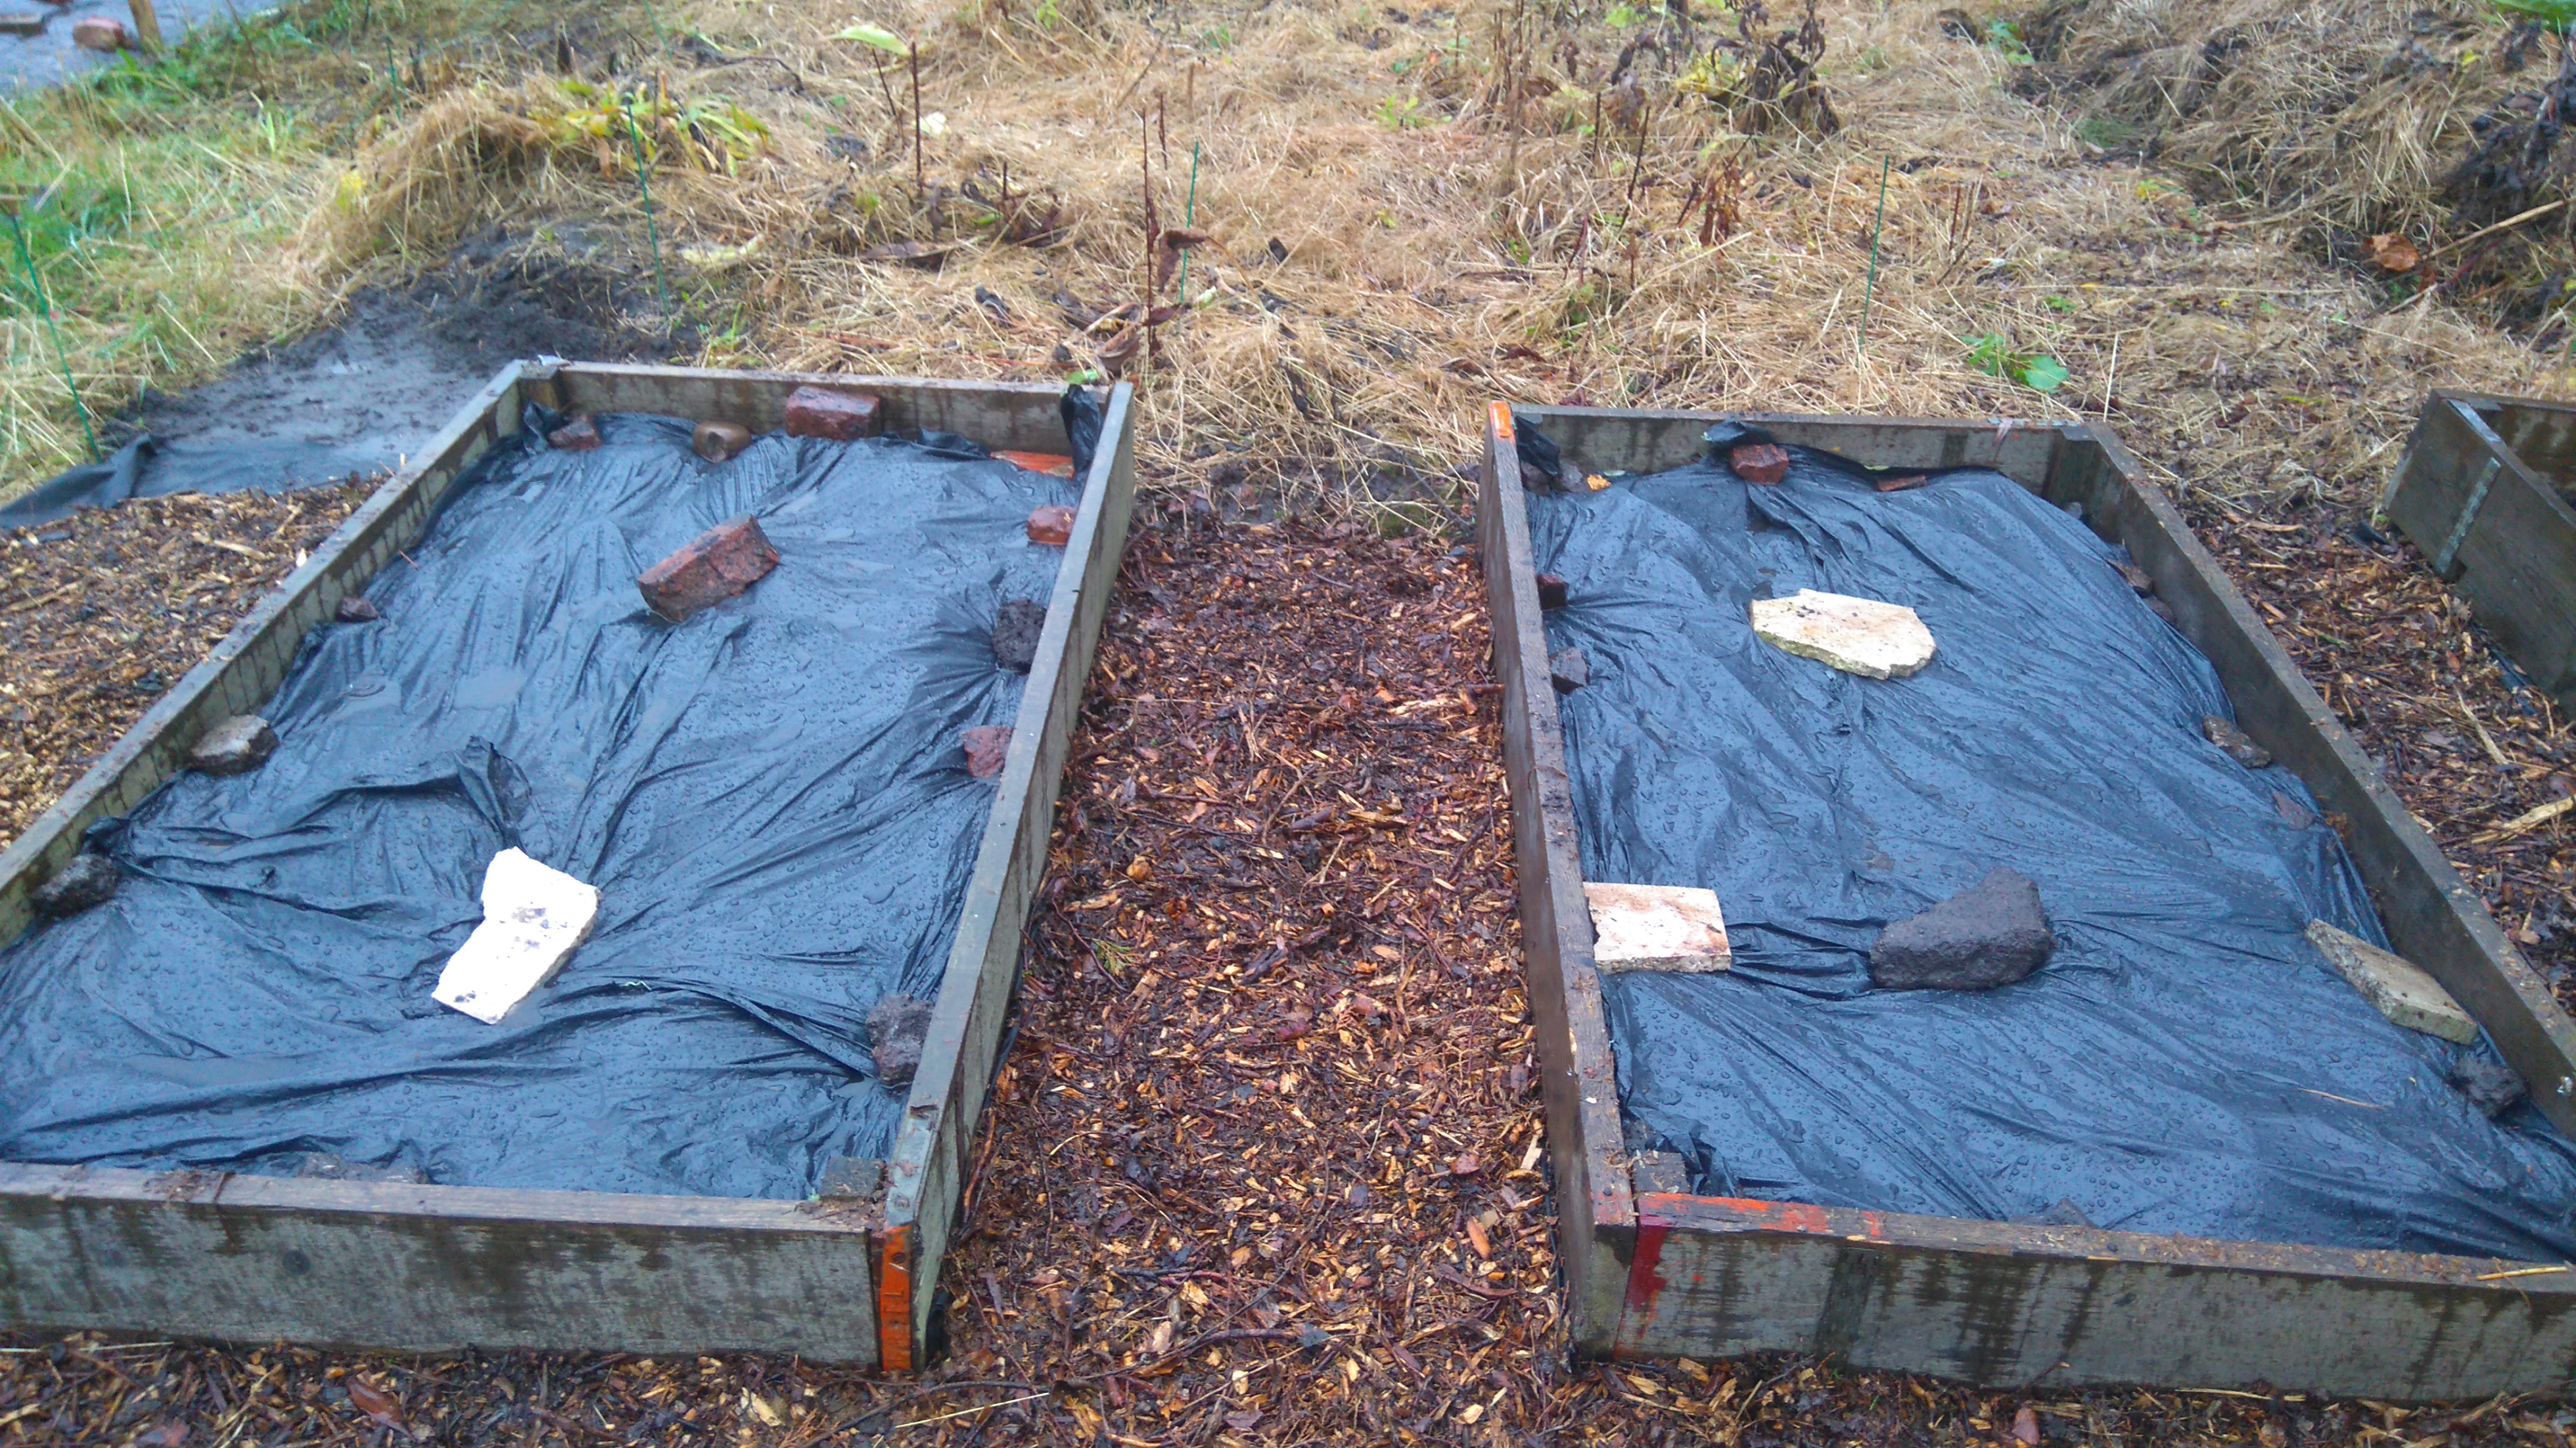
When you are not using the raised beds you can cover them with weed membrane or black bin bags. This can be stapled to the wood of the raised bed, pegged down or weighted down.
To further minimize your work you can burn holes in the weed membrane on the raised beds and plant through those into the soil so you don’t have to do any weeding!
The Hoe Is Your Friend
On any exposed soil use your hoe regularly. I’d suggest two or three times a week. it won’t take you long and all you do is knock the heads of the weeds. This will keep the weeds down and mean minimal work!
Before I built the raised beds I would visit my allotment three times a week before work in the morning. I would spend 20 to 30 minutes hoeing the soil. My plot neighbours were forever asking me why the weeds didn’t grow on my plot but theirs was covered with them. I kept telling them it was because of the hoe but they never believed me … it really does work!
No Dig Gardening
With raised beds it is easy to practice no dig gardening which further reduces the amount of work you have to do! Every autumn you refresh the soil by adding fertilizer and the soil stays nice and loose because you do not stand on it or compact it. I’ll write more about this in another article but it can really help reduce your workload allowing you to smile smugly when you see everyone else hard at work turning their soil!
It is possible to own an allotment and minimize your work! I have no objection to hard work but I do object to doing it unnecessarily, so I also work to minimize the amount of work I need to do. Raised beds are wonderful and I’ve never looked back since I’ve started to use them. They reduce your workload and when combined with weed membrane and no dig gardening means you need to spend minimal time managing your allotment and more time doing the fun stuff like planting, harvesting and enjoying the fresh air!